Whip up this easy Vegan Milkshake in just 5 minutes with only 3 ingredients! Creamy and delicious, it's a tasty drink or dessert that both kids and adults will absolutely love.
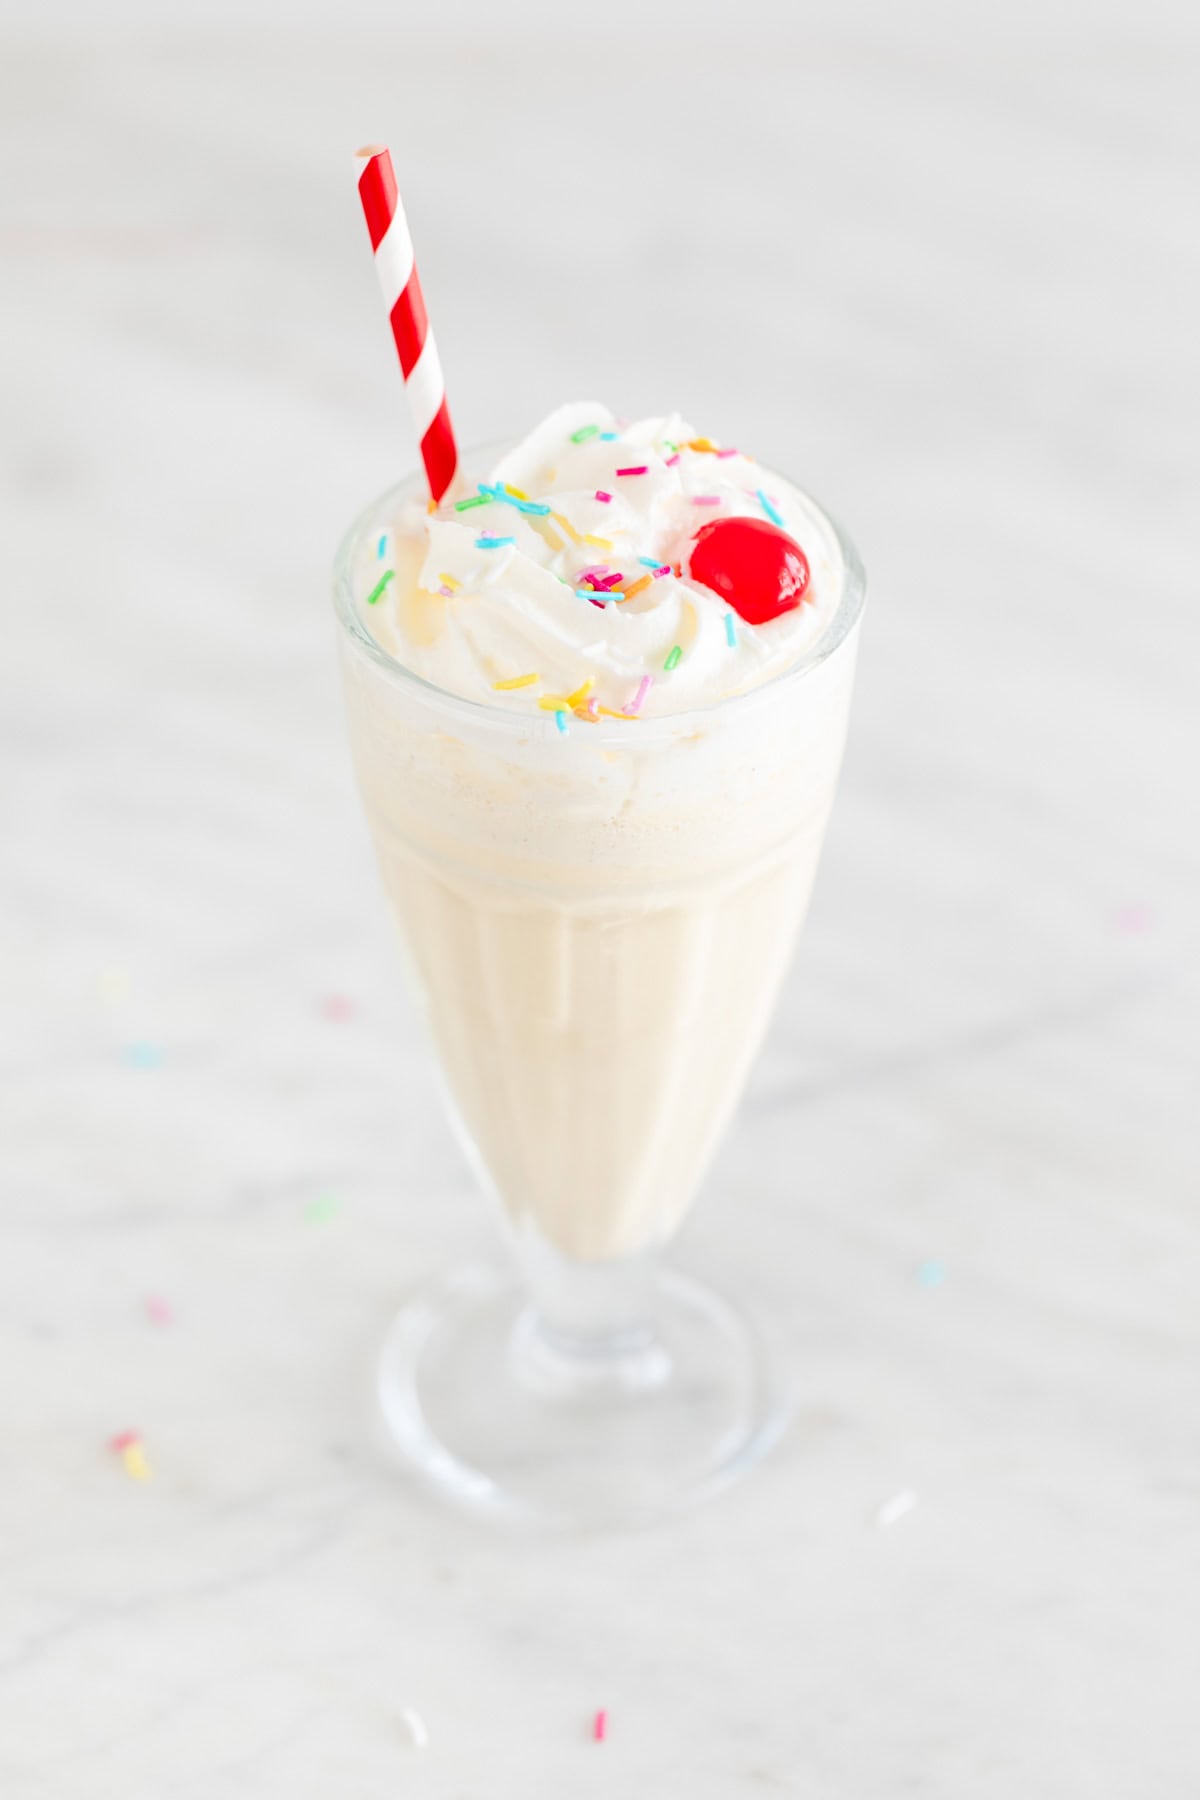
Perfect for hot summer days or a quick after-school treat, this milkshake is easy to customize. Just add your favorite fruits or a scoop of nut butter for extra flavor!
Whether you're enjoying it on your own or serving it at a party, this vegan milkshake is sure to impress. It's like a classic, creamy vanilla milkshake but completely dairy-free.
Looking for more delicious drinks? Check out these refreshing recipes: a nutrient-packed Vegan Protein Shake, a traditional Vegan Mexican Horchata, and a creamy Banana Milk!
Jump to:
🌟 Why you'll love this recipe
- Simplicity: This recipe only needs 3 easy-to-find ingredients, so it’s super simple to make. Perfect for anyone, from beginners to seasoned cooks!
- Creamy Delight: The milkshake has a smooth, creamy texture that hits the spot when you’re craving something sweet. Every sip is a real treat.
- Dairy-Free: Enjoy all the flavor without any dairy, making it great for those who are lactose intolerant or following a vegan diet.
- Quick Prep: Ready in just 5 minutes, it’s perfect for busy days or when you want a tasty snack without a lot of fuss.
- Customizable: The best part is you can add your favorite fruits or flavors to make it unique every time. Each time you whip it up, you can try something new!
🧾 Ingredient notes
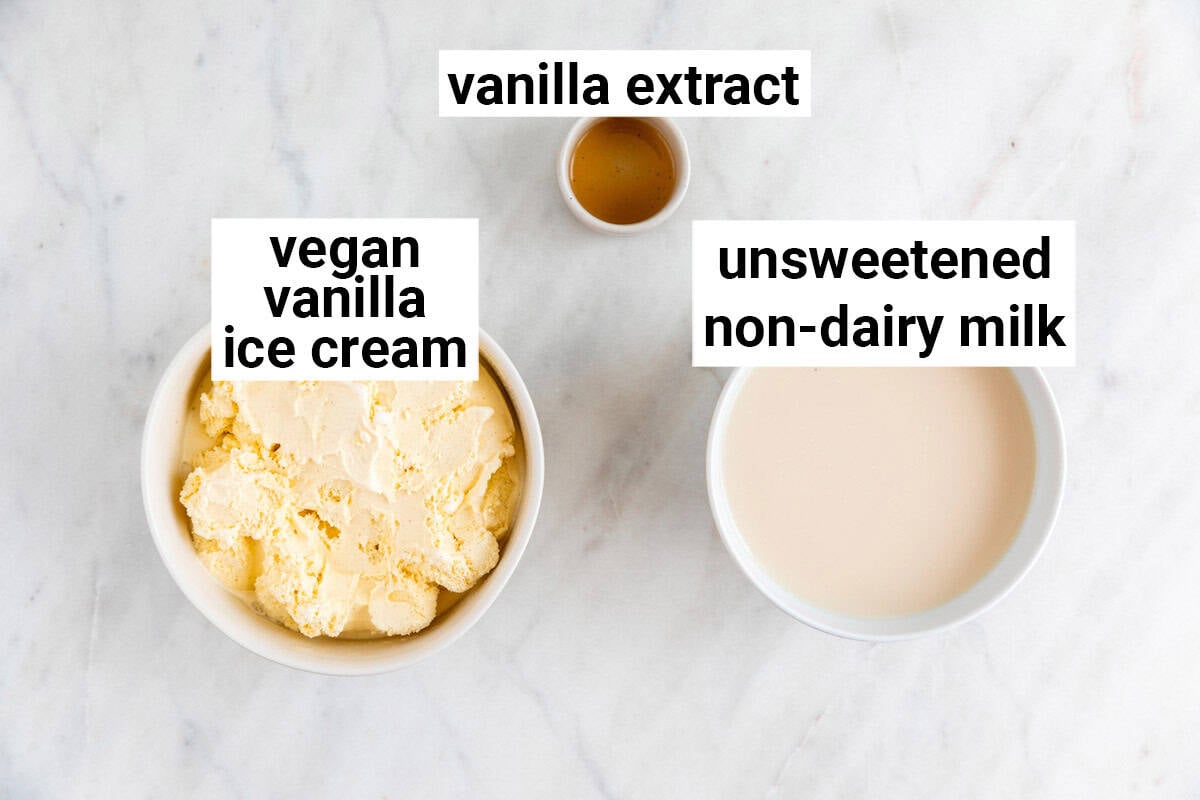
Vegan Vanilla Ice Cream: You can either buy it pre-made or make your own Homemade Vegan Vanilla Ice Cream. Use your favorite brand or whatever you can find at the store.
For some great recommendations, check out this post about the best non-dairy vanilla ice creams!
This way, you can be sure you're using a delicious option for your vegan milkshake.
Unsweetened Non-Dairy Milk: You can use any non-dairy milk, but I like using Soy Milk because it has a creamy texture and is a great source of protein.
Other great options include Almond Milk, Oat Milk, or Coconut Milk. Feel free to pick your favorite or what you have on hand!
I prefer unsweetened milk to keep the milkshake from being too sweet, but if you use sweetened milk, that’s fine as long as it doesn’t end up too sugary for your taste.
Vanilla Extract: This adds a nice kick of flavor to your milkshake and makes the vanilla taste pop.
If you want to skip the alcohol, you can leave it out. Another great option is to scrape a vanilla bean and add the seeds for a fresh flavor.
See the recipe card below for a full list of ingredients and measurements.
📋 Variations
- Berry Blast: Add 1 cup (150 grams) of mixed berries (like strawberries, blueberries, or raspberries) for a fruity twist.
- Chocolate Delight: Mix in 2 tablespoons of cocoa powder or a scoop (about ½ cup or 100 grams) of dairy-free chocolate ice cream.
- Peanut Butter Banana: Blend in 1 ripe banana and 2 tablespoons of Peanut Butter for a creamy, nutty flavor. This version is great for a filling snack!
- Mint Chocolate Chip: Add ½ teaspoon of peppermint extract and ¼ cup (about 40 grams) of dairy-free chocolate chips for a refreshing minty flavor.
- Tropical Twist: Replace the vanilla ice cream with 2 cups (300 grams) of non-dairy coconut ice cream and add 1 cup (150 grams) of pineapple chunks.
🔪 Instructions
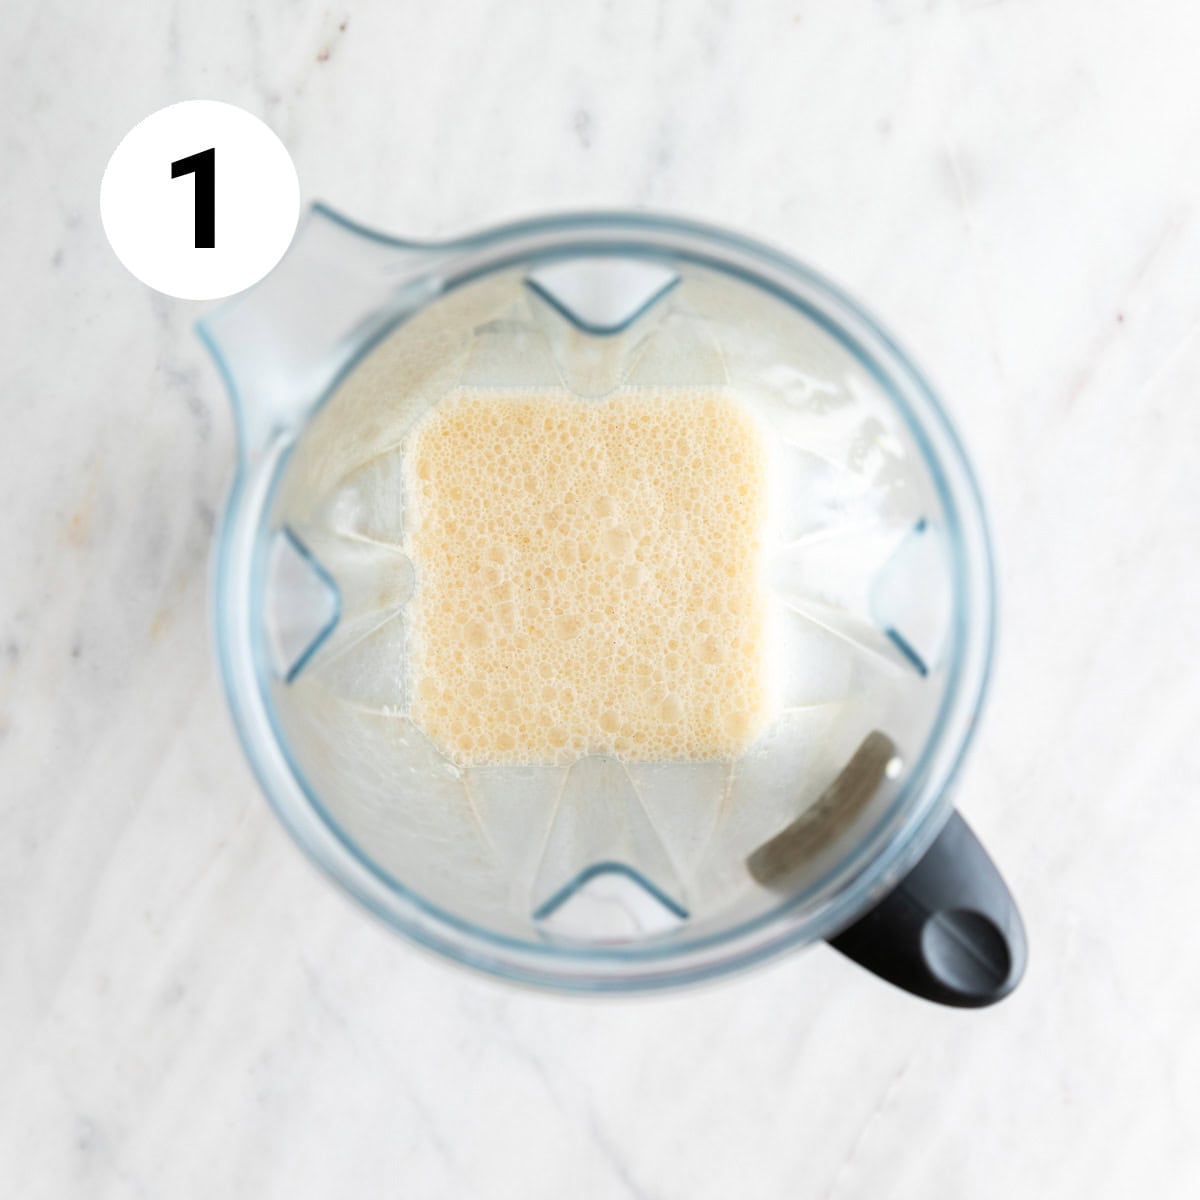
Step 1. Add all the ingredients to a high-speed blender and blend until smooth.
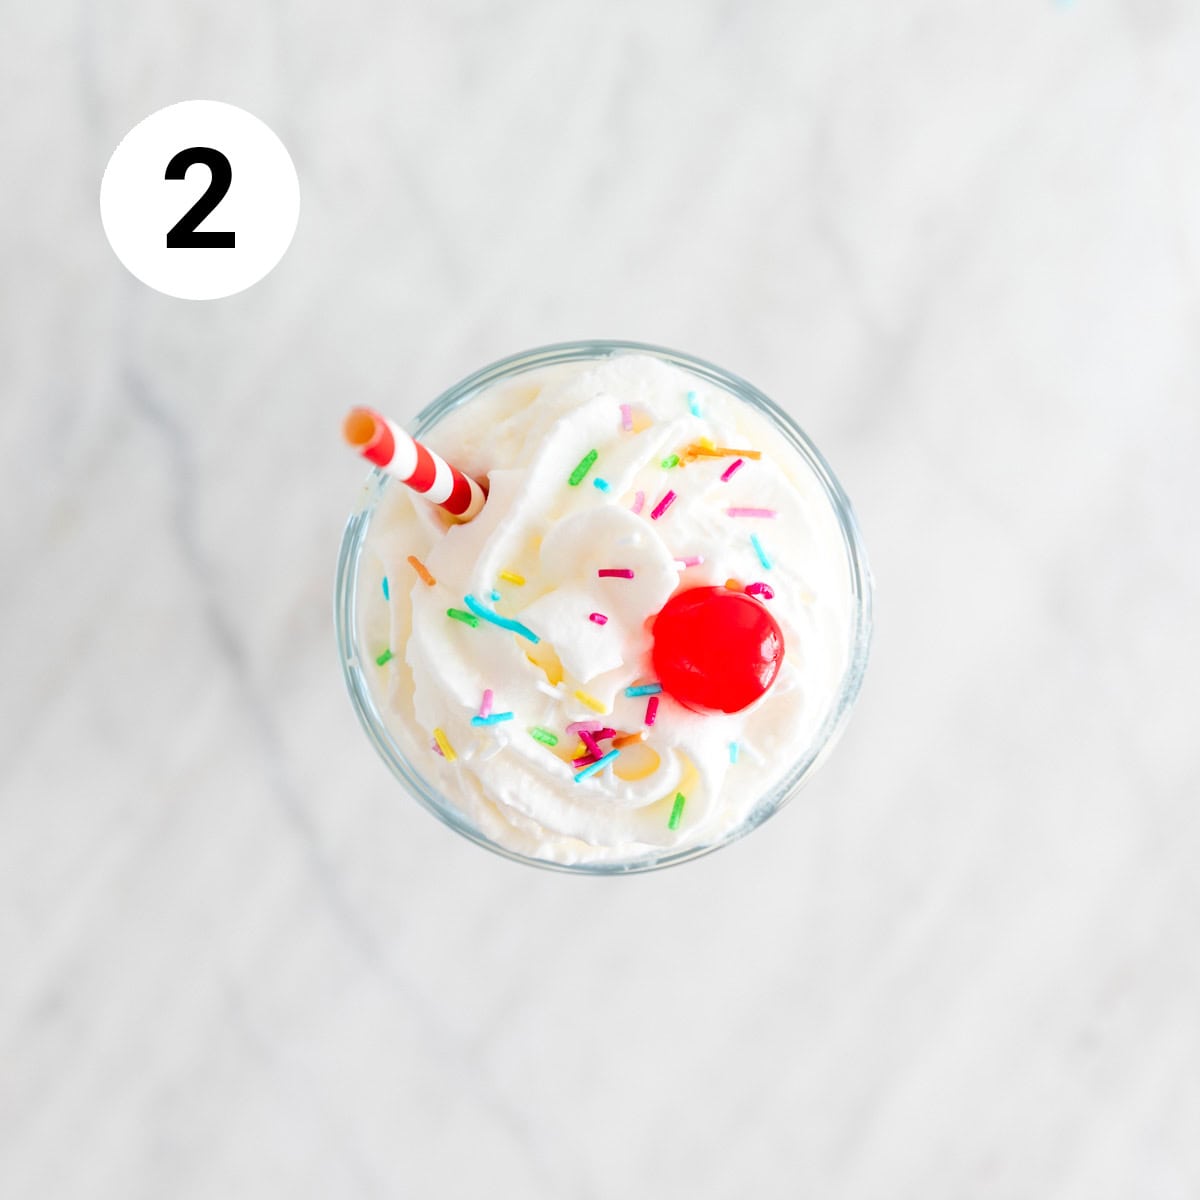
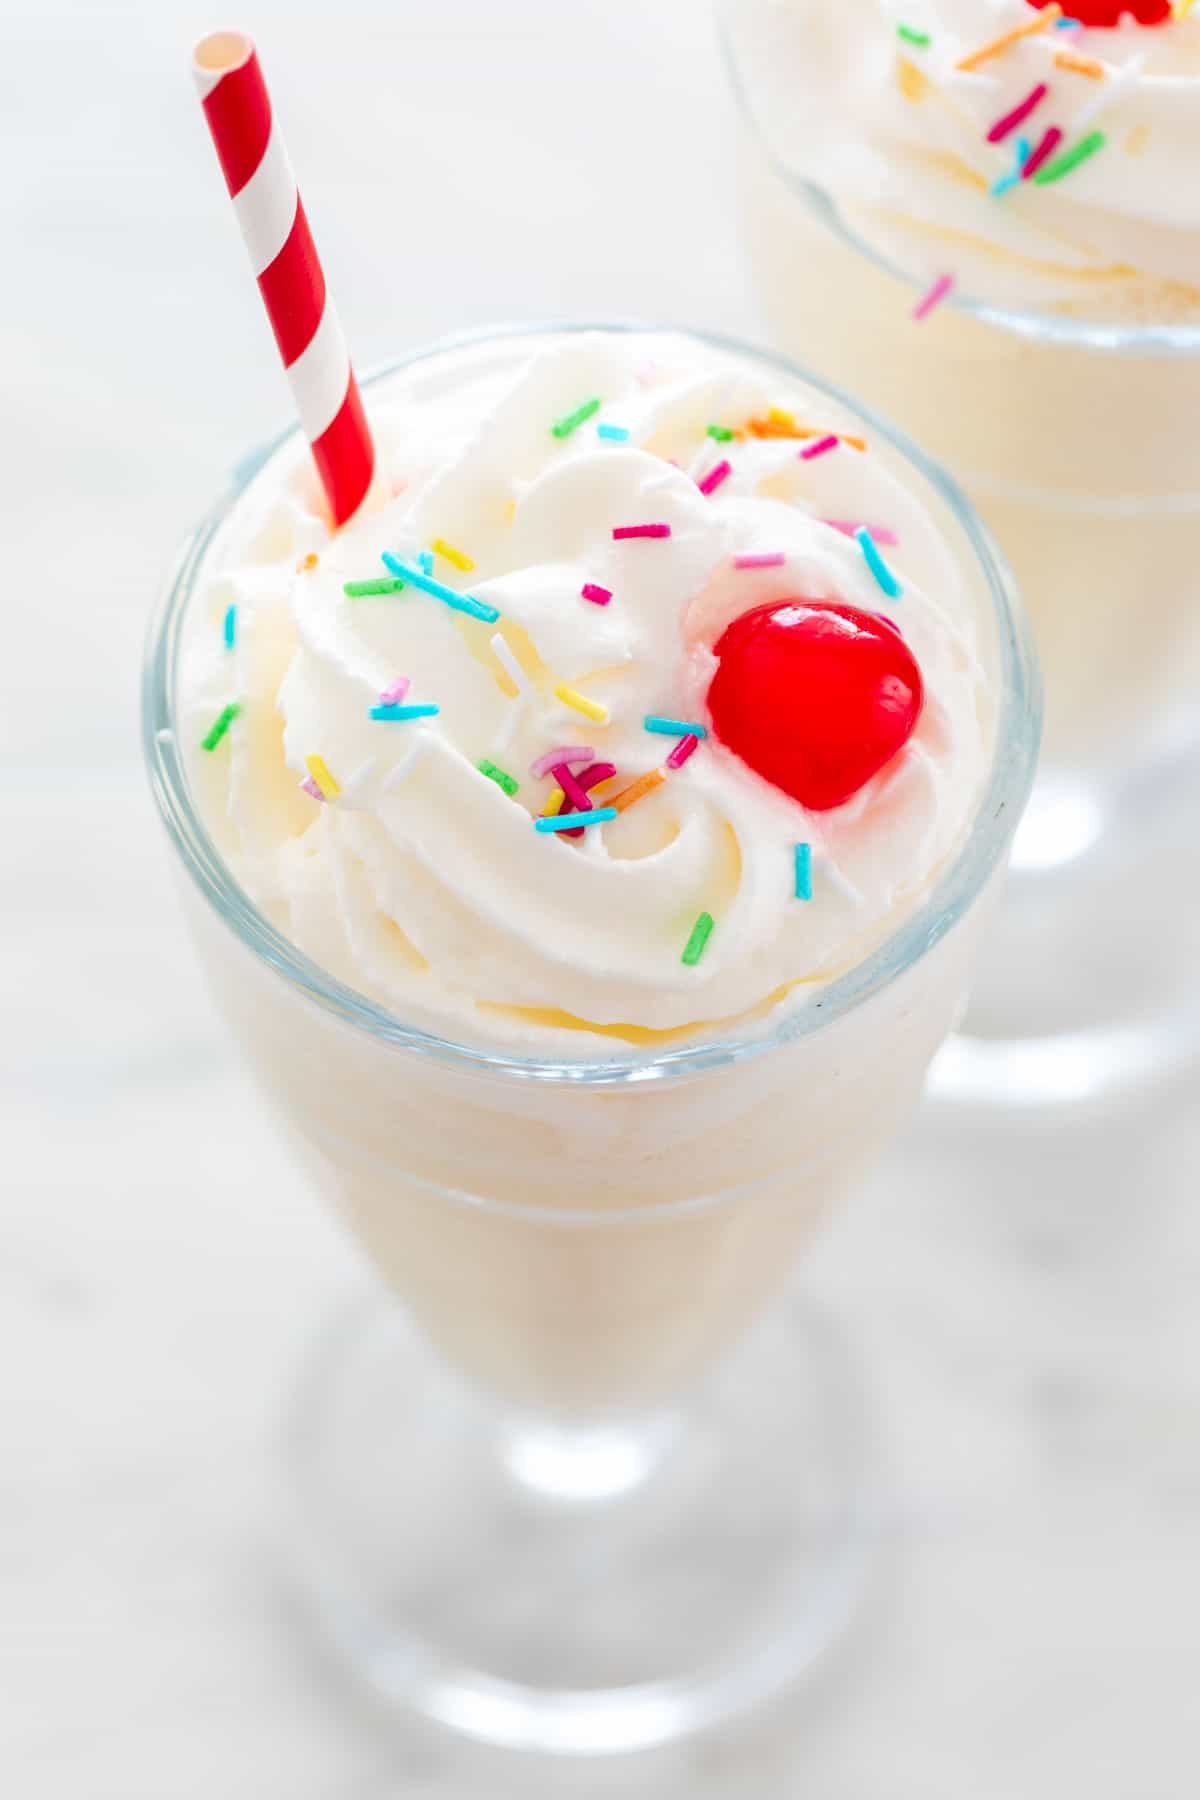
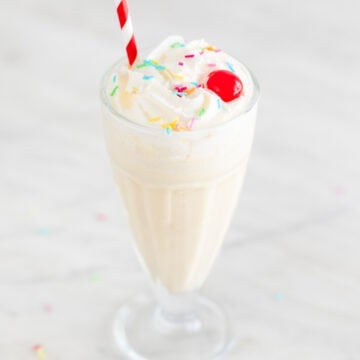
Step 2. Pour the milkshake into glasses and serve. I love topping mine with vegan whipped cream, vegan sprinkles, and a cherry on top for a fun touch!
💭 Expert tips
- Use a High-Speed Blender: A quality blender gives you a smoother milkshake. If you don’t have one, just blend longer to combine everything well.
- Start Slow: Blend at low speed to combine the ingredients, then gradually increase the speed. This helps prevent splatters and ensures a smoother mix.
- Adjust Consistency: If your milkshake is too thick, add a splash of non-dairy milk; if it’s too thin, add more ice cream. Adjust gradually for the right texture.
- Chill Your Glasses: For a refreshing touch, chill your glasses in the freezer for a few minutes before pouring in the milkshake. This keeps your drink cold longer!
- Serve Immediately: For the best flavor and texture, serve your milkshake right after blending. It may separate or lose creaminess if it sits too long.
❓Recipe FAQs
To store leftover vegan milkshake, pour it into an airtight container and refrigerate it.
It’s best to consume it within 1-2 days for optimal flavor and texture.
If the milkshake thickens, you can blend it again with a splash of non-dairy milk to bring it back to the desired consistency before enjoying!
Yes, you can prepare the vegan milkshake ahead of time!
However, it's best to store it in the fridge in an airtight container and consume it within 1-2 days.
Keep in mind that it may thicken, so you might need to blend it again with a little milk to restore its creamy texture before serving.
No, it’s not necessary to use vanilla extract, but it does add a nice depth of flavor to the vegan milkshake.
If you prefer, you can omit it or substitute it with the seeds from a scraped vanilla bean for a fresher taste.
Yes, you can make it without ice cream! Simply use frozen bananas or blended frozen fruit as a base instead.
Combine them with non-dairy milk and any flavorings you like to achieve a creamy texture.
It will be a healthier alternative while still being delicious!
Great toppings for this milkshake include Vegan Whipped Cream, colorful sprinkles (make sure they're vegan), and Chocolate Syrup.
You can also add and Vegan Caramel Sauce for extra flavor!
Fresh fruit like berries or banana slices, plus crushed nuts, dairy-free chocolate chips, or a cherry on top, makes it even more fun!
🍨 More delicious vegan dessert recipes
Did you like this recipe? Please leave a rating and comment below!
Easy Vegan Milkshake
Ingredients
- 2 cups store-bought or homemade vegan vanilla ice cream
- 1 cup unsweetened non-dairy milk of your choice, I used soy milk
- ½ teaspoon vanilla extract, optional
Instructions
- Add all the ingredients to a high-speed blender and blend until smooth.
- Pour the milkshake into glasses and serve. I love topping mine with vegan whipped cream, vegan sprinkles, and a cherry on top for a fun touch!
Notes
- Use a High-Speed Blender: A quality blender gives you a smoother milkshake. If you don’t have one, just blend longer to combine everything well.
- Start Slow: Blend at low speed to combine the ingredients, then gradually increase the speed. This helps prevent splatters and ensures a smoother mix.
- Adjust Consistency: If your milkshake is too thick, add a splash of non-dairy milk; if it’s too thin, add more ice cream. Adjust gradually for the right texture.
- Chill Your Glasses: For a refreshing touch, chill your glasses in the freezer for a few minutes before pouring in the milkshake. This keeps your drink cold longer!
- Serve Immediately: For the best flavor and texture, serve your milkshake right after blending. It may separate or lose creaminess if it sits too long.


sydney beal says
great very well made
Iosune says
Hi Sydney! Thank you so much! I’m glad you enjoyed it. Simple and delicious recipes are the best, right?
Sheri says
Easy and delicious! My new go-to recipe! 🙂
Iosune Robles says
That's amazing 🙂 So glad you liked it!
Feather styles says
This is possibly the best milkshake I’ve ever had, it is so easy and quick and is so good.
Iosune says
Hi Feahter! I'm so happy to read that 🙂 So glad you liked it so much!
Iosune says
Hi Mayank! I never lie to my readers, that's why they trust me 🙂 I'm so sorry the recipe didn't work for you, but it works great. Have you tried to make your own almond milk, it's delicious and really easy to make. Hope it helps.
dina says
these look so yummy!
Iosune says
Hi Dina! Thanks a lot 🙂