These are The Best Vegan Biscuits you'll ever taste! They're delicious, flaky, buttery, fluffy, and made with only 7 simple ingredients in just 30 minutes. Plus, they're easy to make!

Experience biscuit perfection in every bite, with a golden, crispy exterior that gives way to a soft, melt-in-your-mouth center. They're a crowd-pleaser, guaranteed to delight everyone.
They are a tasty addition to breakfast, a comforting choice for the holidays, and a versatile option for snacks or on-the-go meals. They also add a homemade touch of warmth to any occasion.
What to serve with vegan biscuits? They pair perfectly with Vegan Butter and jam, Vegan Gravy or Vegan Mushroom Gravy, Tofu Scramble, or Tempeh Bacon.
Jump to:
🌟 Why you'll love this recipe
- Simple Ingredients: This recipe uses basic, easy-to-find ingredients, making it accessible to everyone.
- Quick Preparation: You can whip up these vegan biscuits in just 30 minutes, perfect for busy mornings.
- Versatile: These vegan biscuits are incredibly adaptable and suitable for breakfast, lunch, dinner, or as a snack.
- Flavorful: With their flaky, buttery texture, they're a taste sensation that satisfies both sweet and savory cravings.
- Homemade Comfort: Enjoy the warmth and comfort of homemade baking, adding a touch of love to your meals.
🧾 Ingredient notes
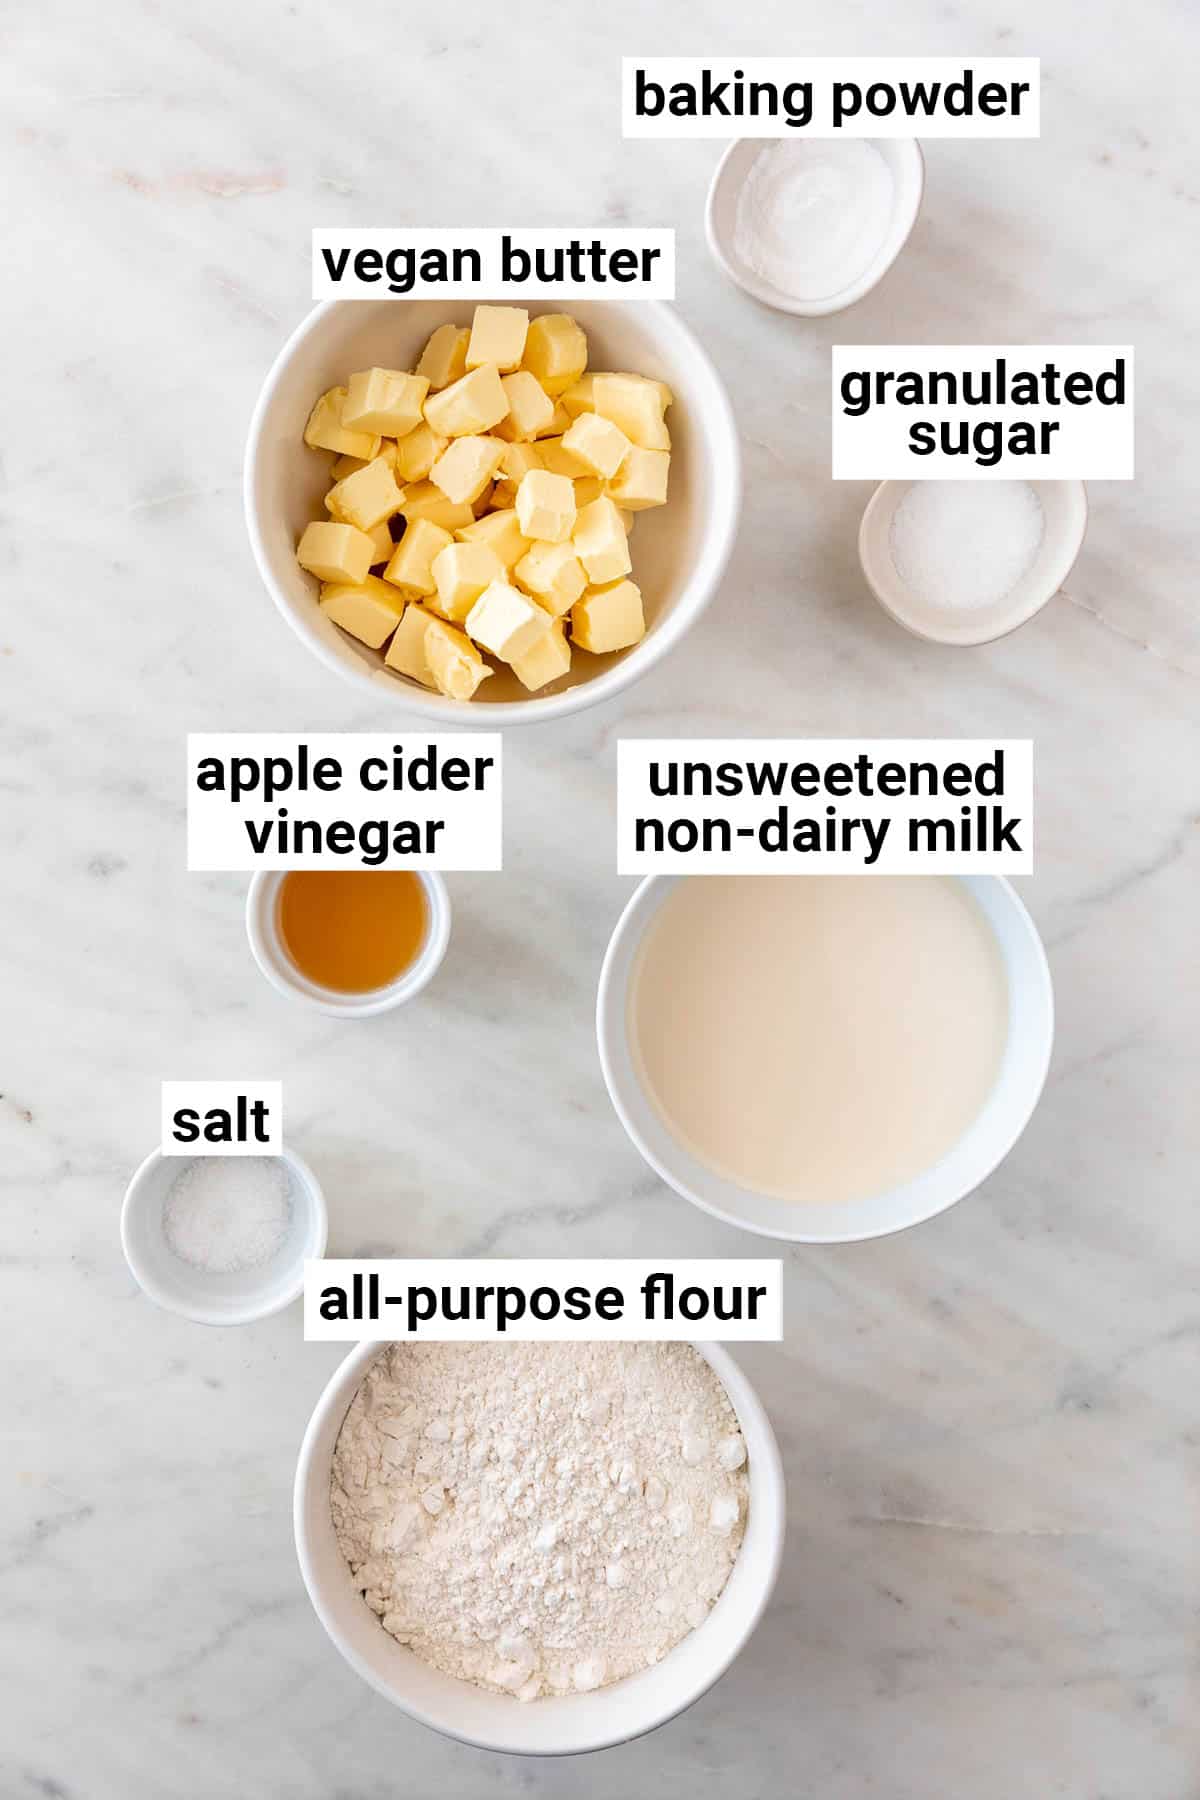
Unsweetened Non-Dairy Milk: I used Soy Milk, but any unsweetened non-dairy milk will work. Options include Almond Milk, Oat Milk, Coconut Milk, or Cashew Milk.
Apple Cider Vinegar: You can substitute it with white vinegar or lemon juice as equally effective alternatives.
These options will provide the desired acidity and fresh flavor, ensuring that your vegan biscuits maintain the same quality and delicious taste.
All-Purpose Flour: While you might be tempted to substitute whole wheat flour, you will achieve the most tender and fluffy vegan biscuits with regular all-purpose flour.
You can opt for a gluten-free flour blend, but please note that the results may vary.
If your flour is clumpy, be sure to sift it first to avoid lumps in the dough.
Granulated Sugar: Leave it out if needed, or replace it with other alternatives like brown sugar, coconut sugar, or cane sugar.
Vegan Butter: It plays a vital role in creating the rich, buttery flavor of these vegan biscuits.
If available, opt for vegan butter sticks over tub butter, as they provide a firmer texture and are less prone to greasiness.
Ensure your vegan butter is ice-cold; a 15-minute stint in the freezer before use works perfectly.
There's a wide range of vegan butter options to choose from, including Earth Balance, Miyoko, Country Crock, and various others now available in the market.
See the recipe card below for a full list of ingredients and measurements.
📋 Variations
- Herb-Infused Biscuits: Add 1-2 tablespoons of fresh or dried herbs like rosemary, thyme, or chives to the dry ingredients for a savory twist.
- Cheesy Biscuits: Incorporate ½ to 1 cup (50-100 grams) of vegan shredded cheese into the dough for a cheesy flavor.
- Sweet Biscuits: Mix in ¼ to ½ cup (50-100 grams) more sugar and add ½ teaspoon of cinnamon to create sweet biscuits. Serve them with Vegan Icing for a delightful dessert.
- Spicy Biscuits: Add 1-2 tablespoons of chopped jalapeños or ½ to 1 teaspoon of red pepper flakes to the dough for a spicy kick.
- Fruit-Filled Biscuits: Gently fold in ½ to 1 cup (75-150 grams) of dried fruits like cranberries, raisins, or chopped apricots for a sweet and fruity biscuit.
🔪 Instructions
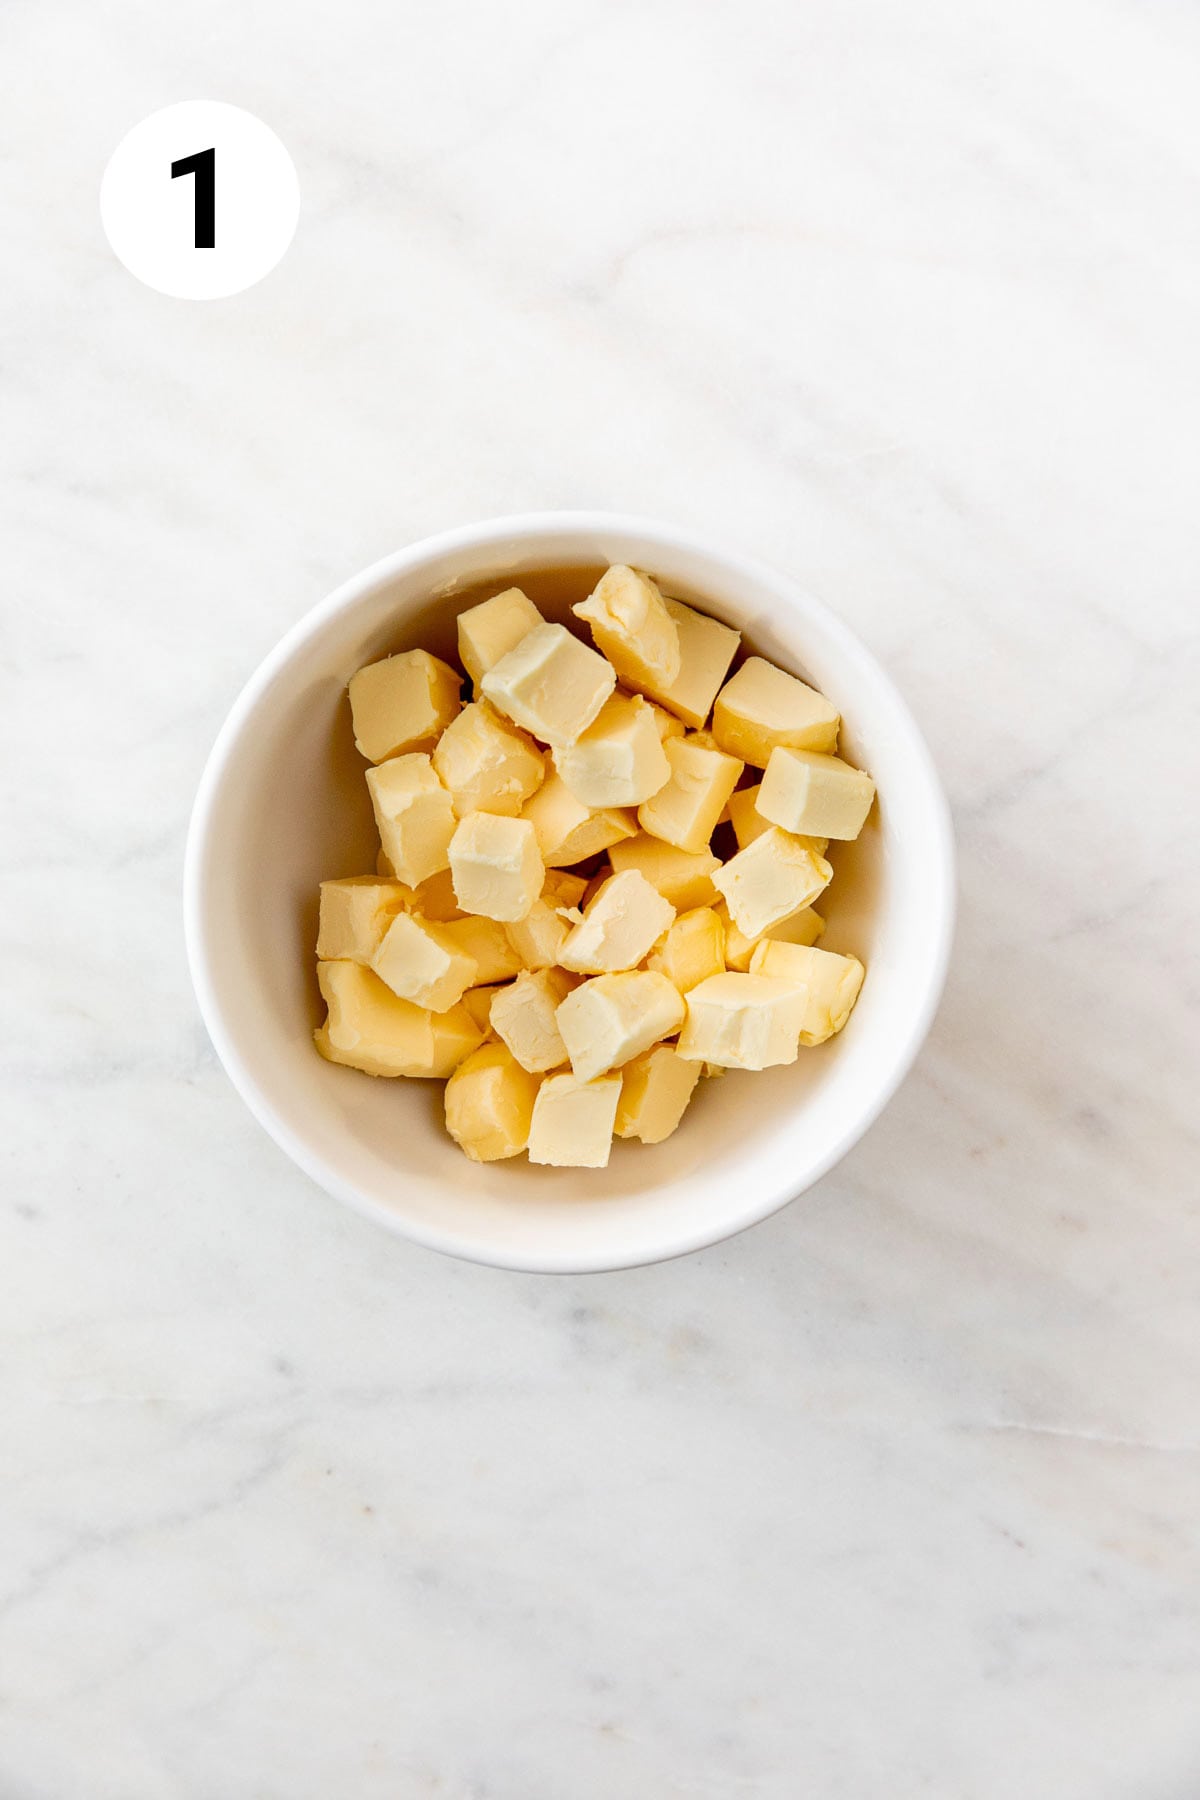
Step 1. For better results, cut the butter into small pieces and place it in the freezer for 15 minutes. Using very cold, diced butter will make your biscuits light, flaky, and buttery.
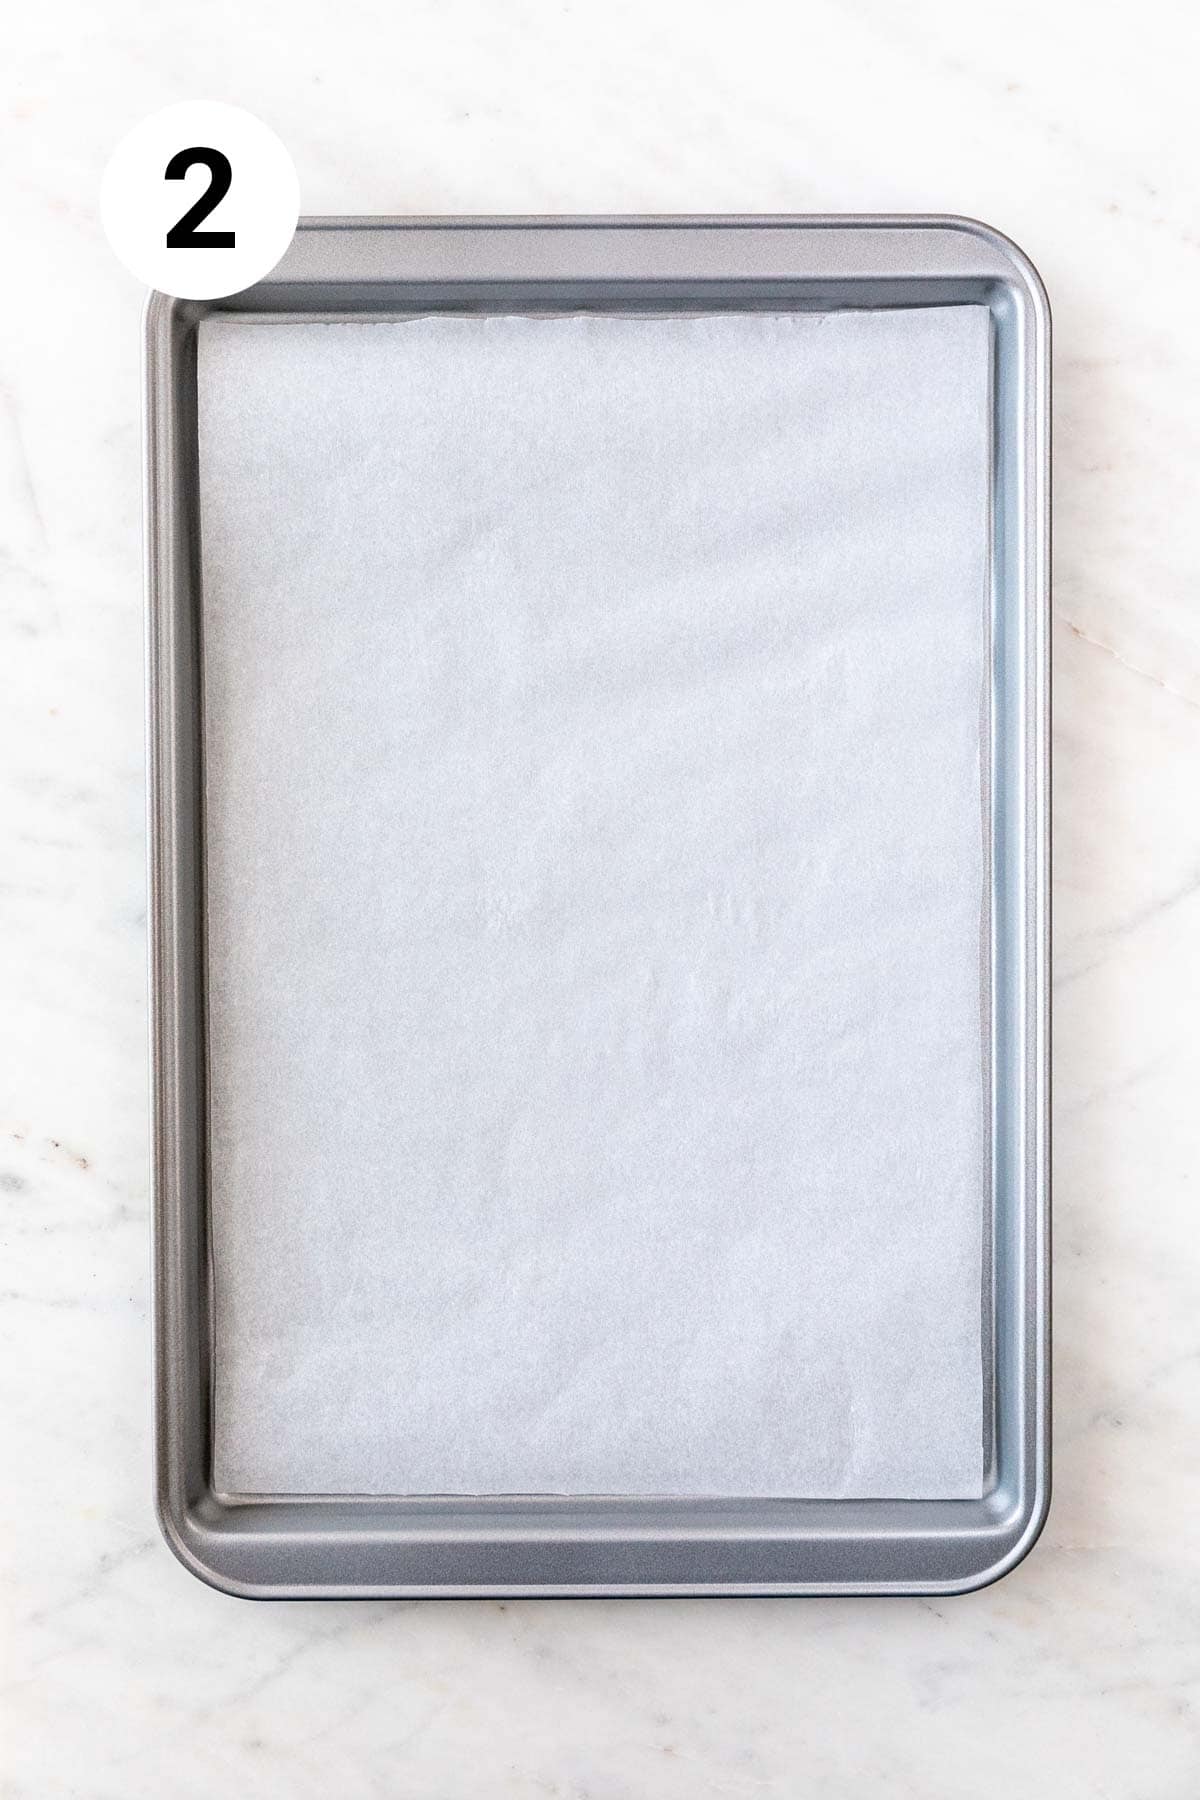
Step 2. Preheat the oven to 425ºF (220ºC) and line a baking sheet with some parchment paper. Set aside.
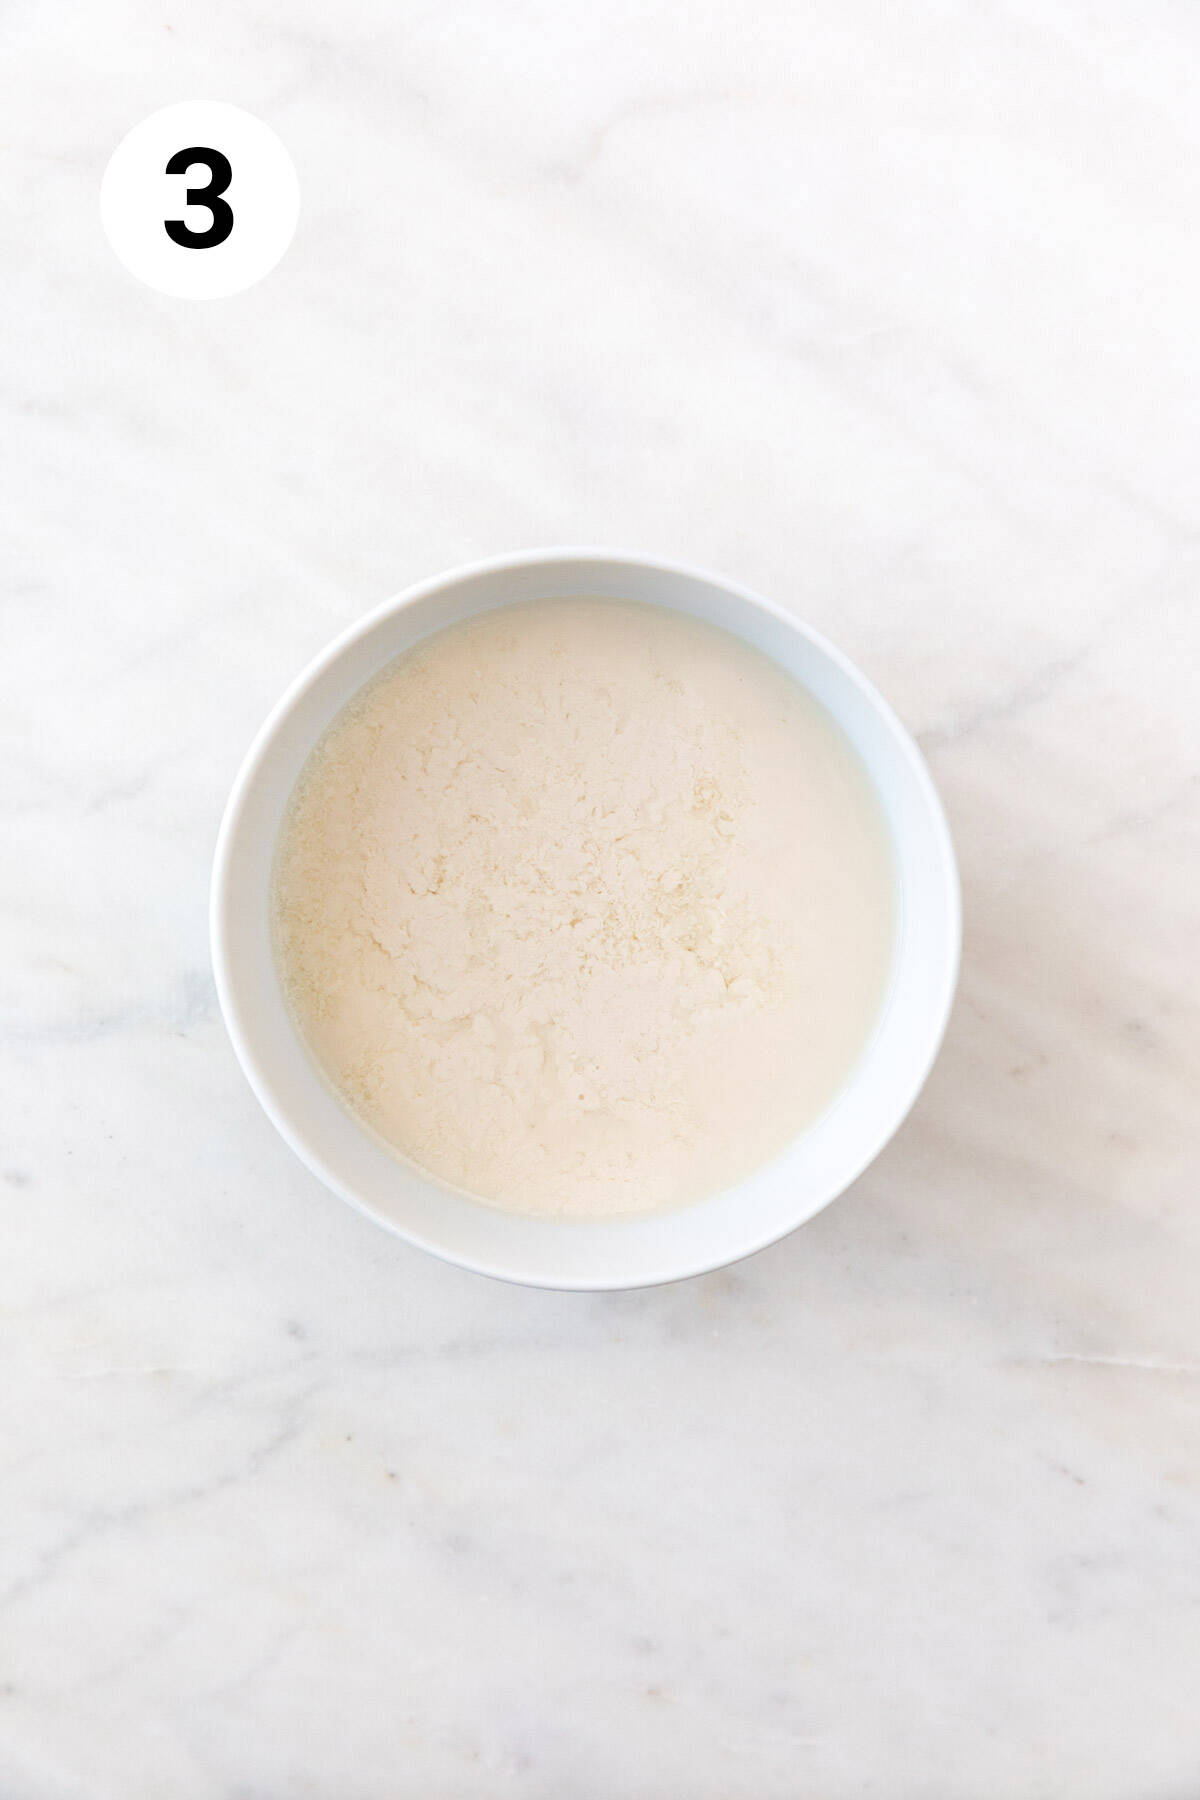
Step 3. Mix the non-dairy milk and vinegar in a bowl and let it sit at room temperature for at least 5 minutes. After this time, the milk will thicken and curdle.
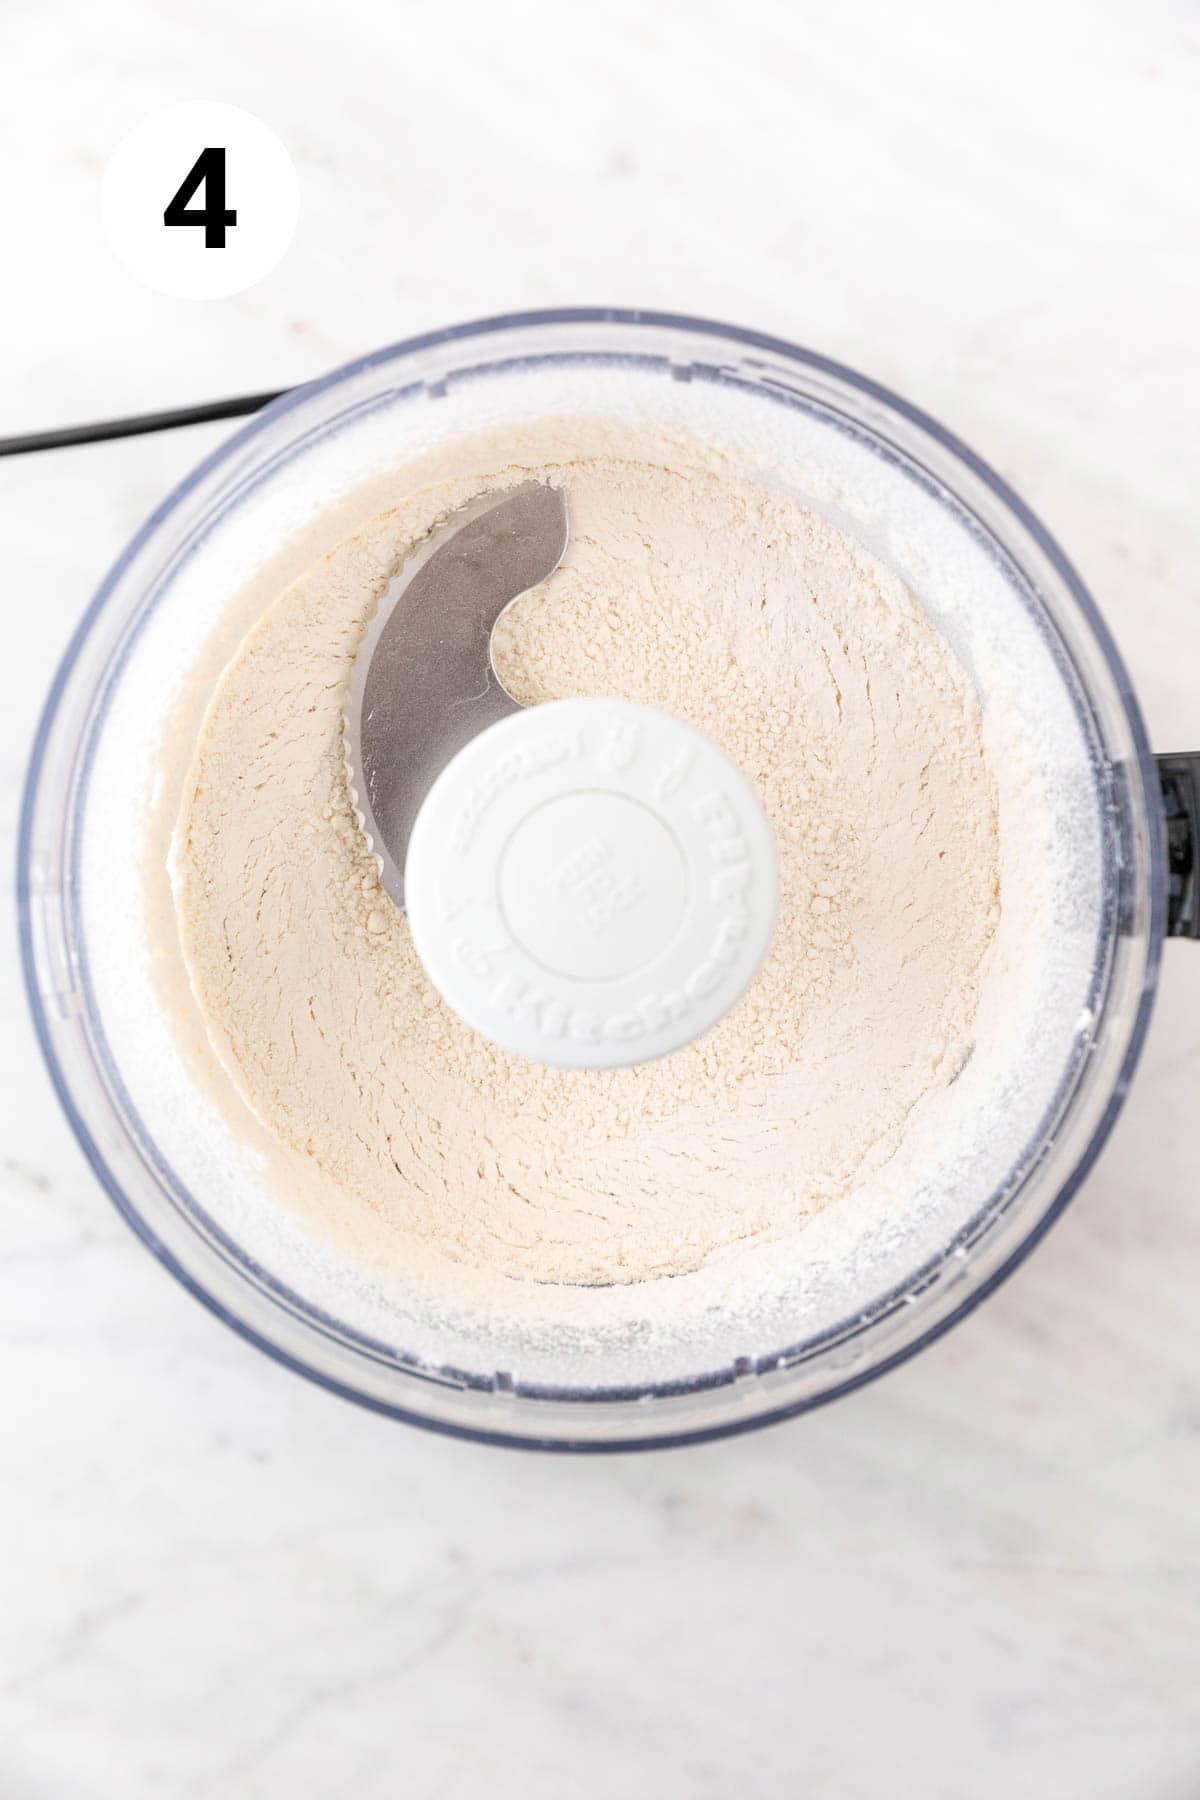
Step 4. Add the flour, baking powder, sugar, and salt to a large mixing bowl or food processor. Whisk or pulse until combined.
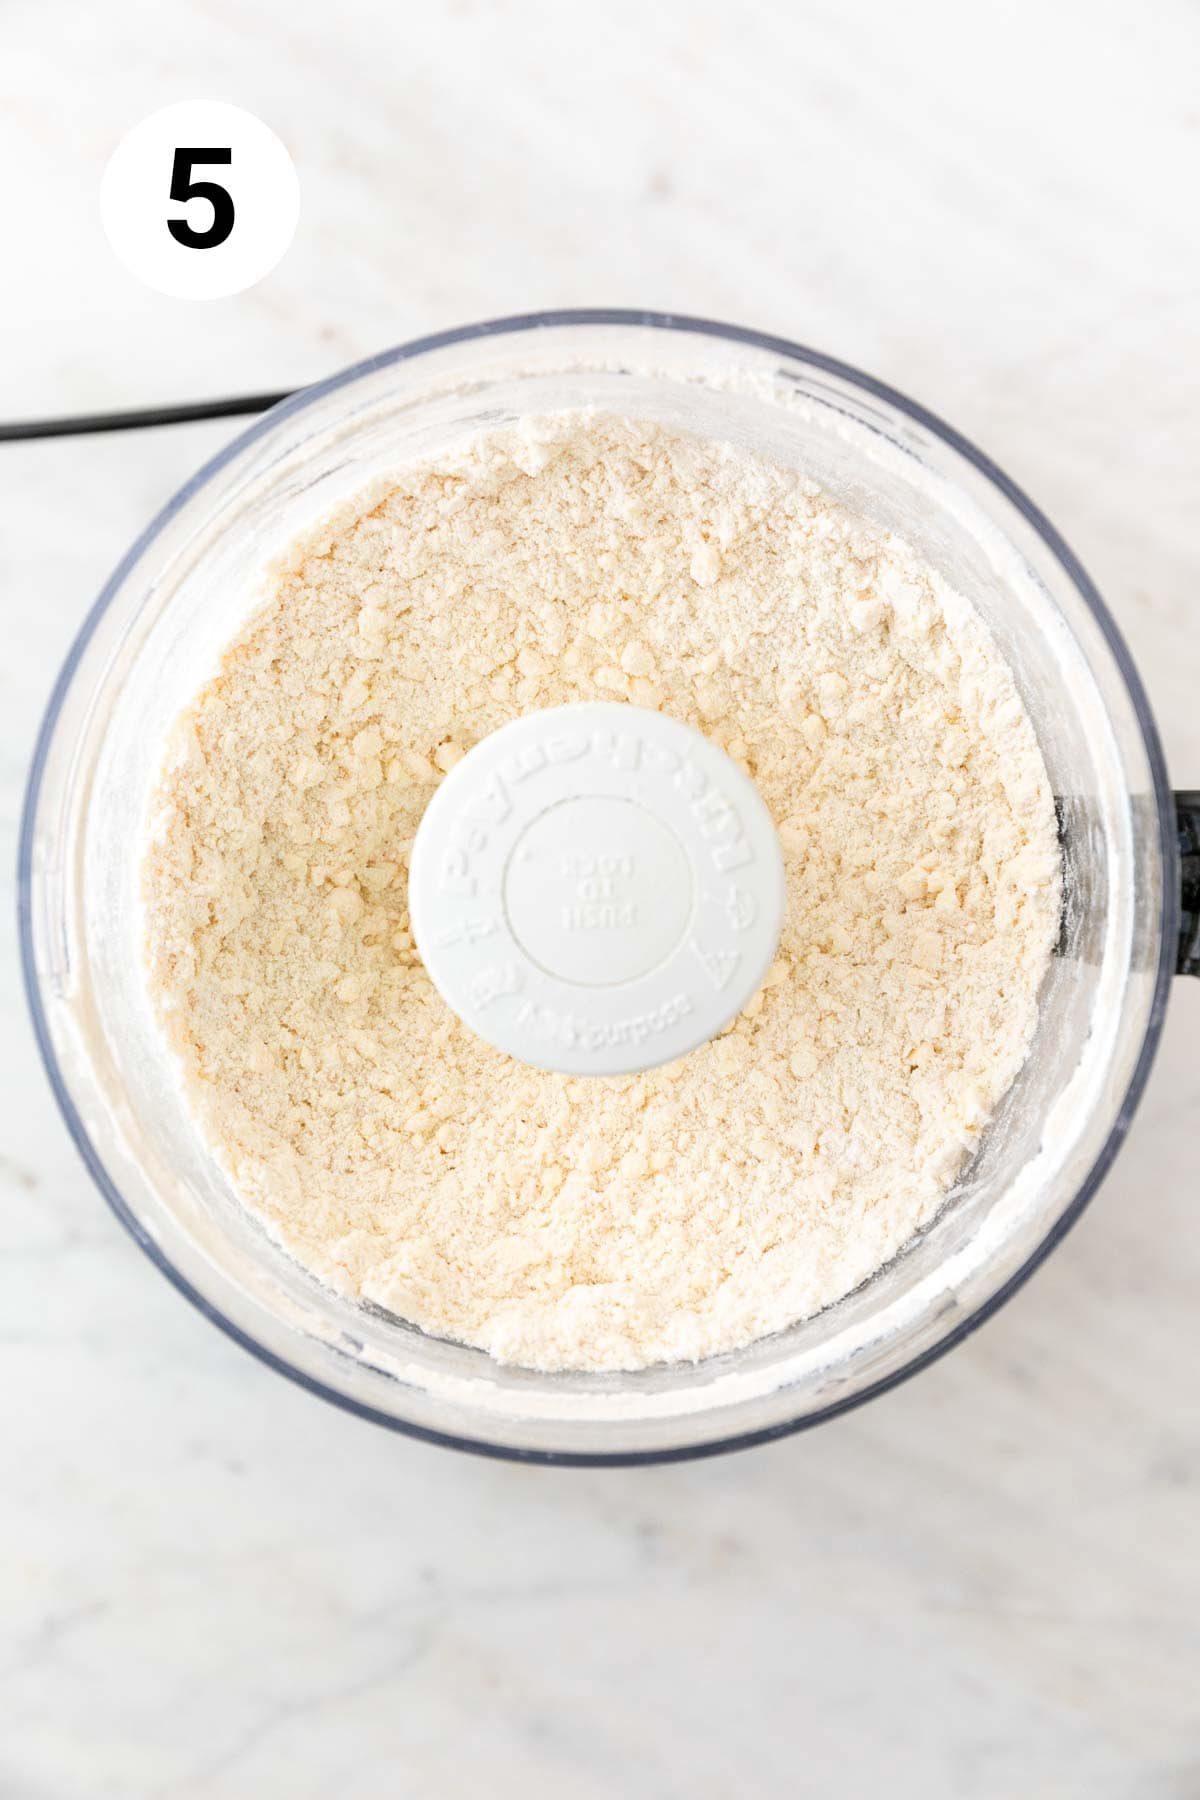
Step 5. Add the cubed vegan butter to the dry ingredients and either use a pastry cutter to cut it into the mixture or pulse several times in a food processor until coarse crumbs form. If using a food processor, transfer the mixture to a large bowl.
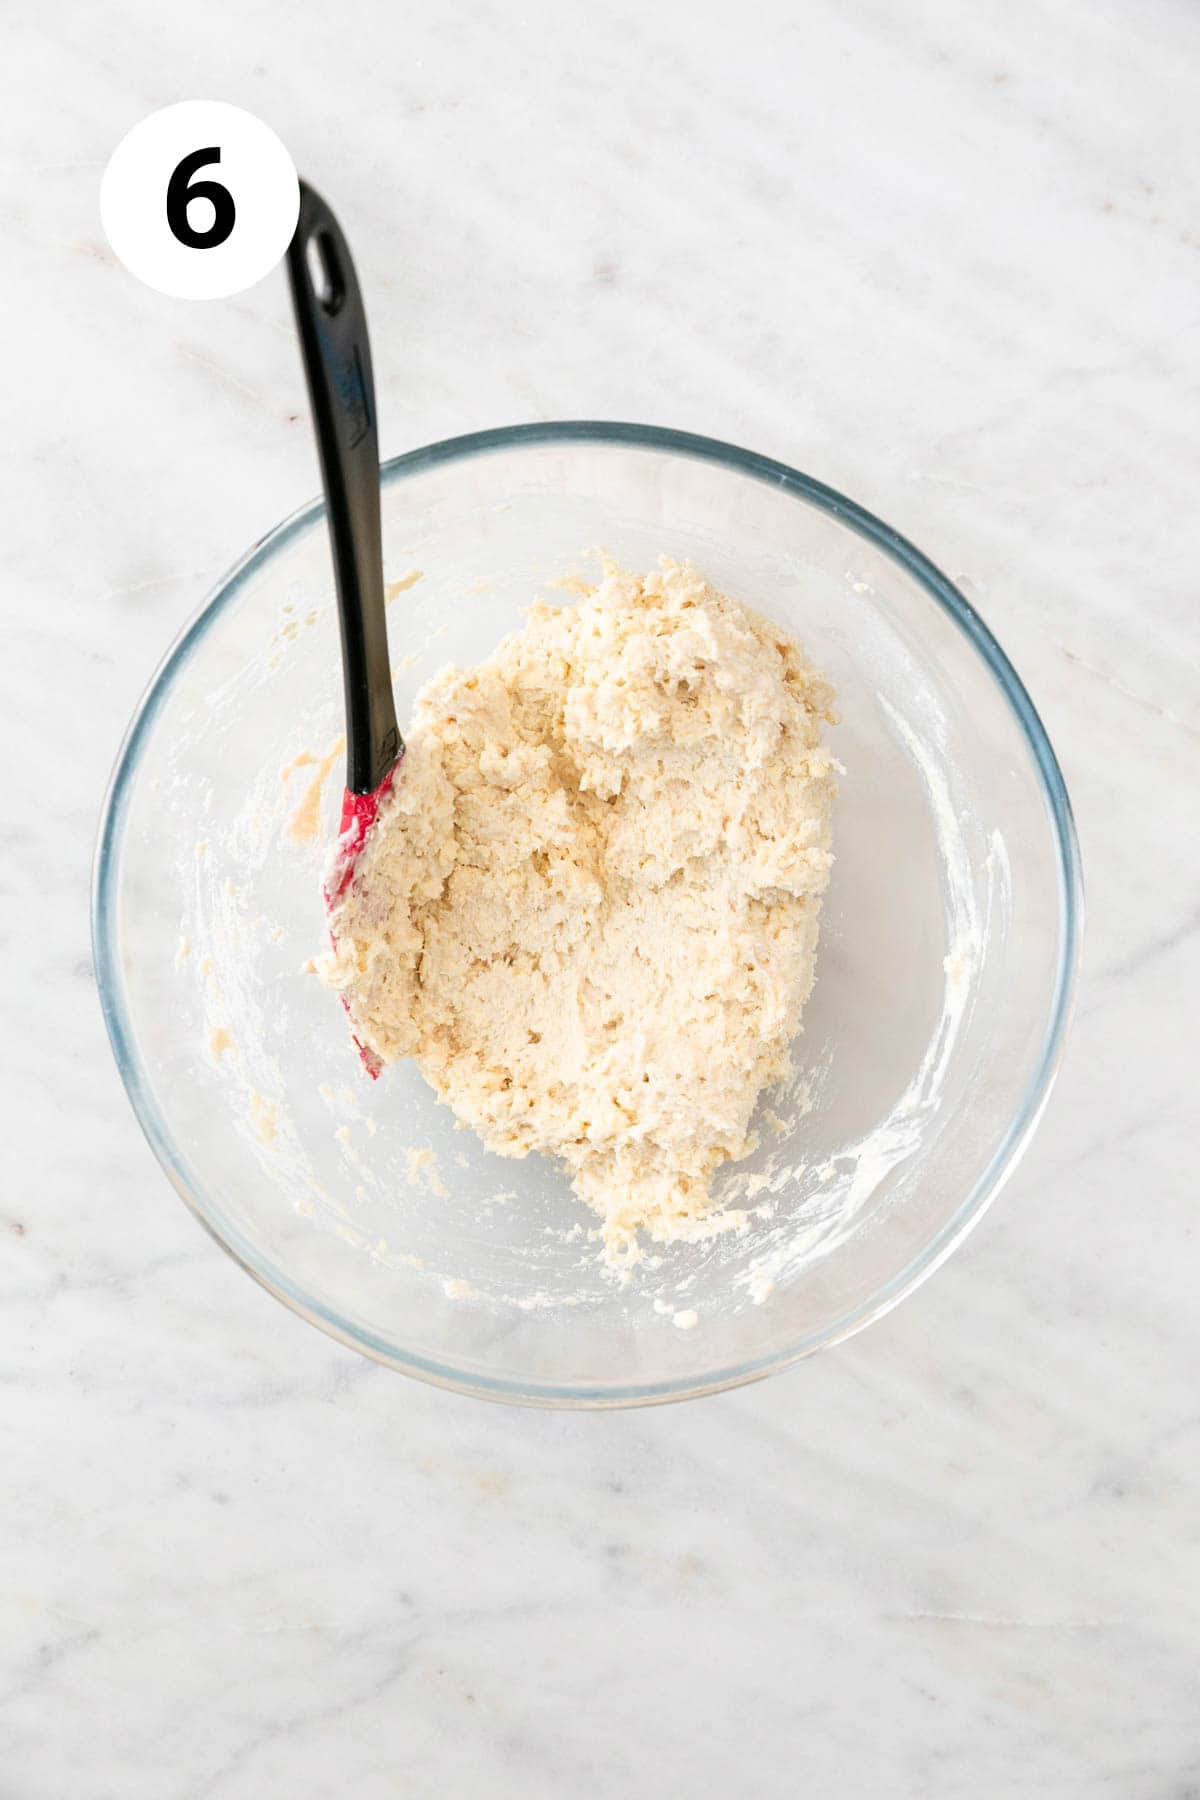
Step 6. Pour the milk and vinegar mixture into the bowl. Gently stir until almost combined, but do not overmix. The dough will be quite moist and sticky, and not form a clean ball at this stage.
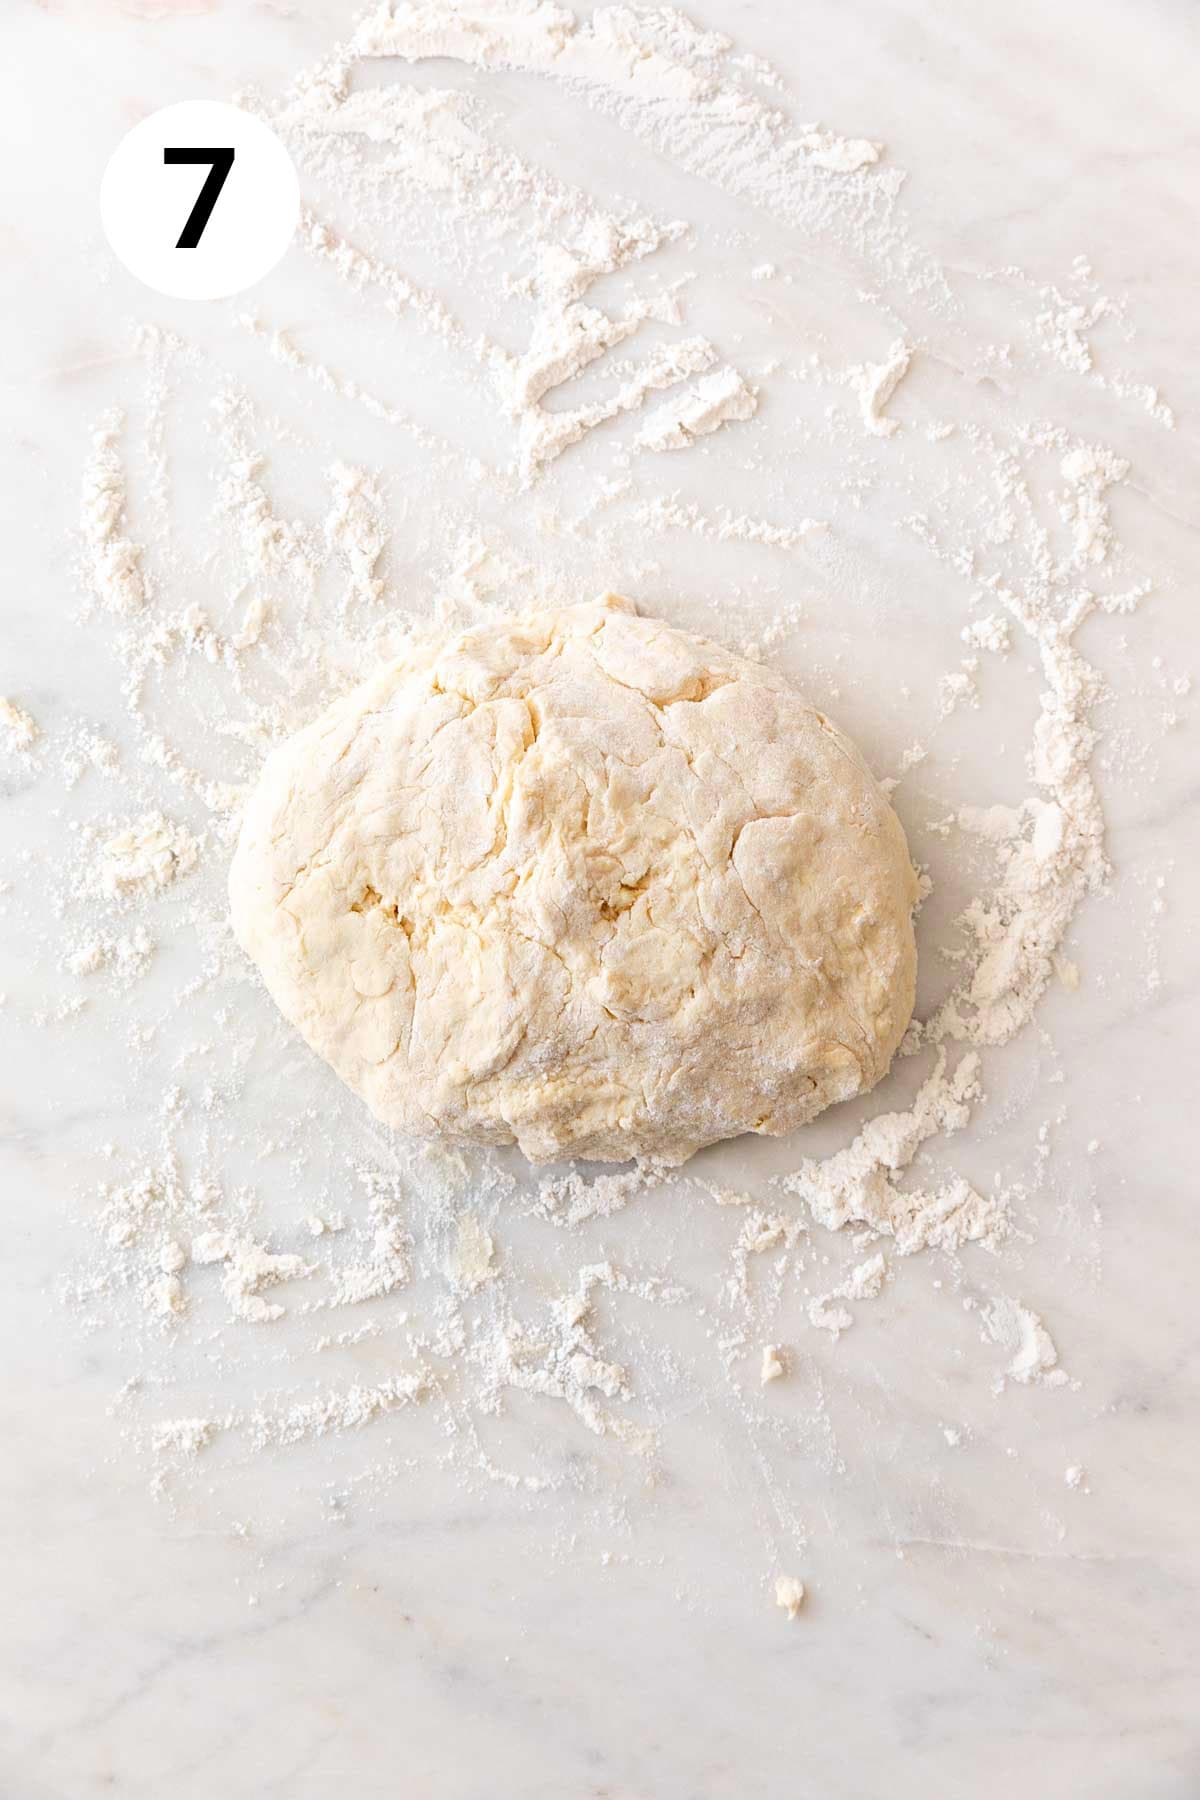
Step 7. Transfer the dough to a floured work surface and gently bring it together with generously floured hands. The dough will become sticky as you bring it together. Have extra flour nearby and use it often to flour your hands and work surface, but do not add too much or the vegan biscuits will be dry.
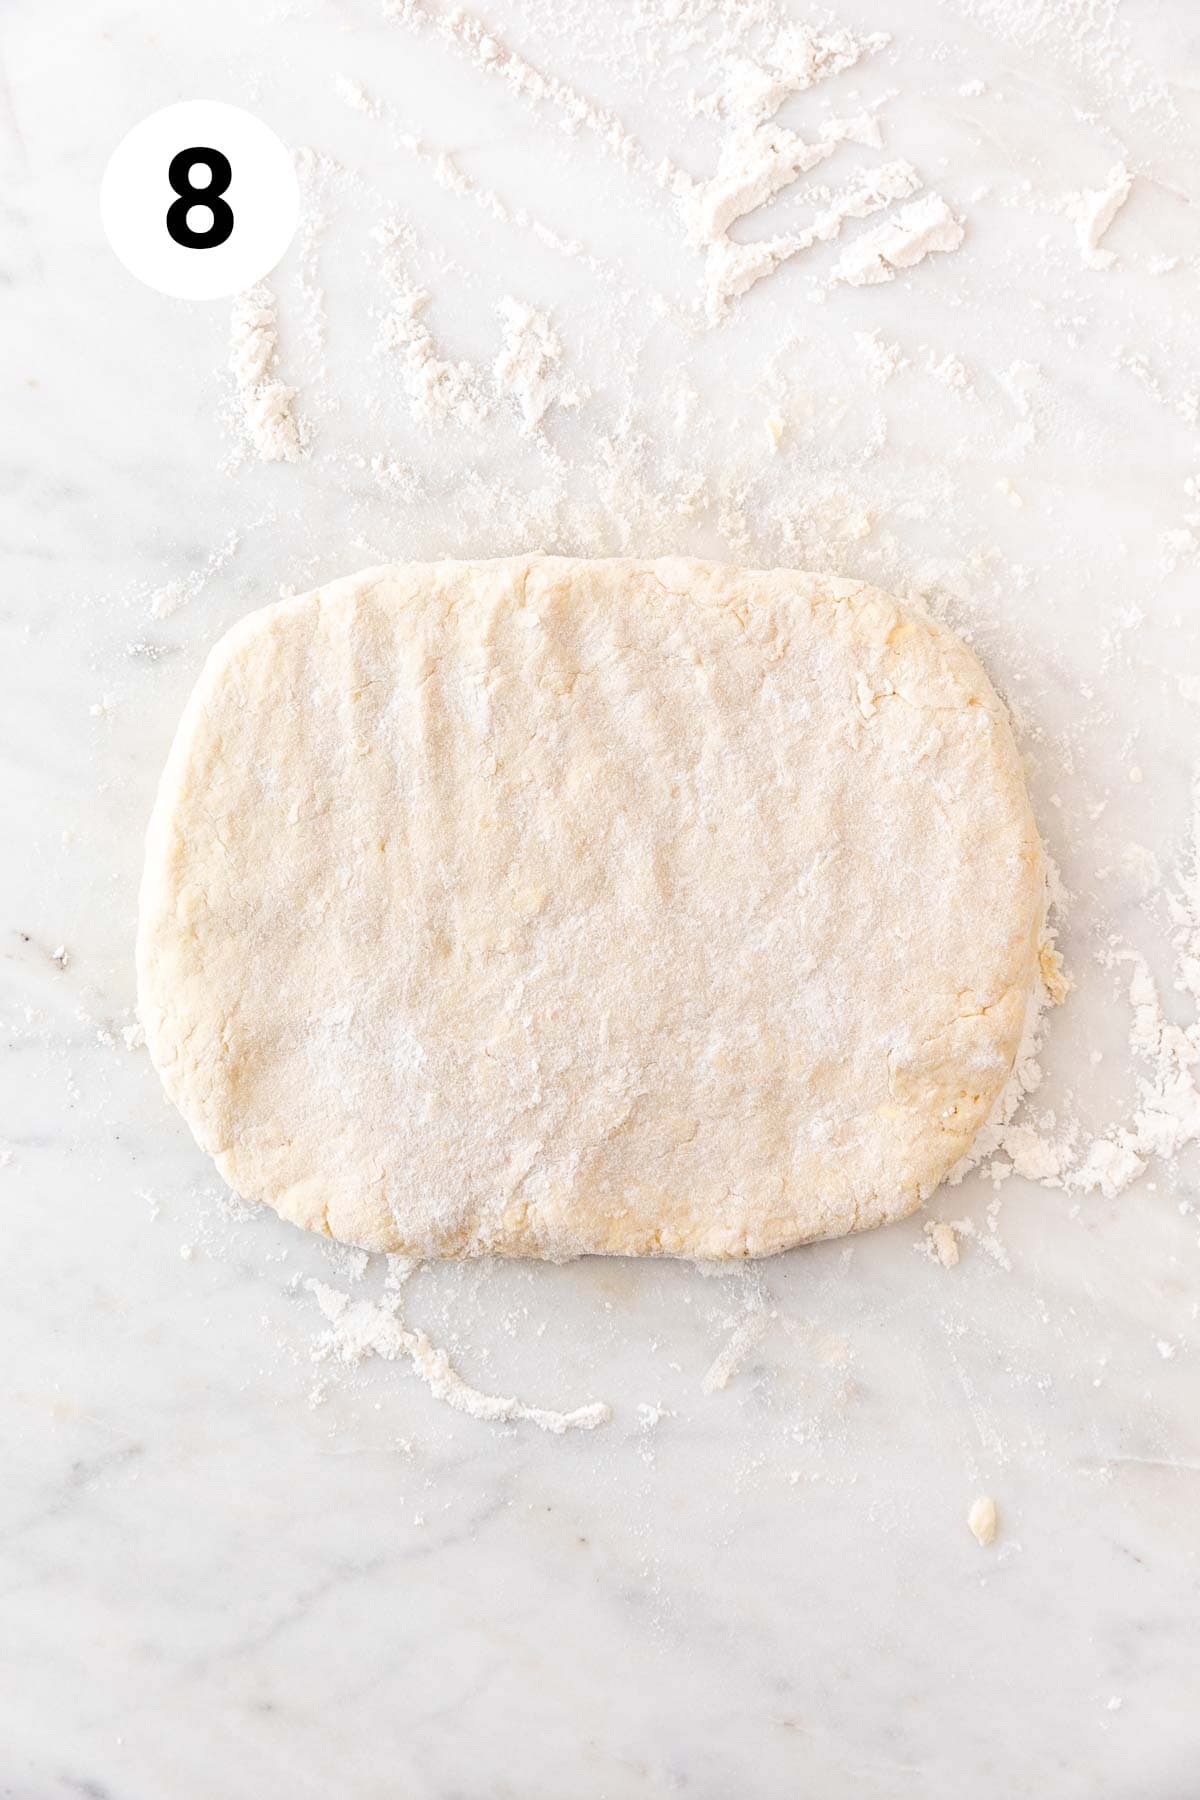
Step 8. Gently flatten the dough into a ¾-inch (about 2 cm) thick rectangle.
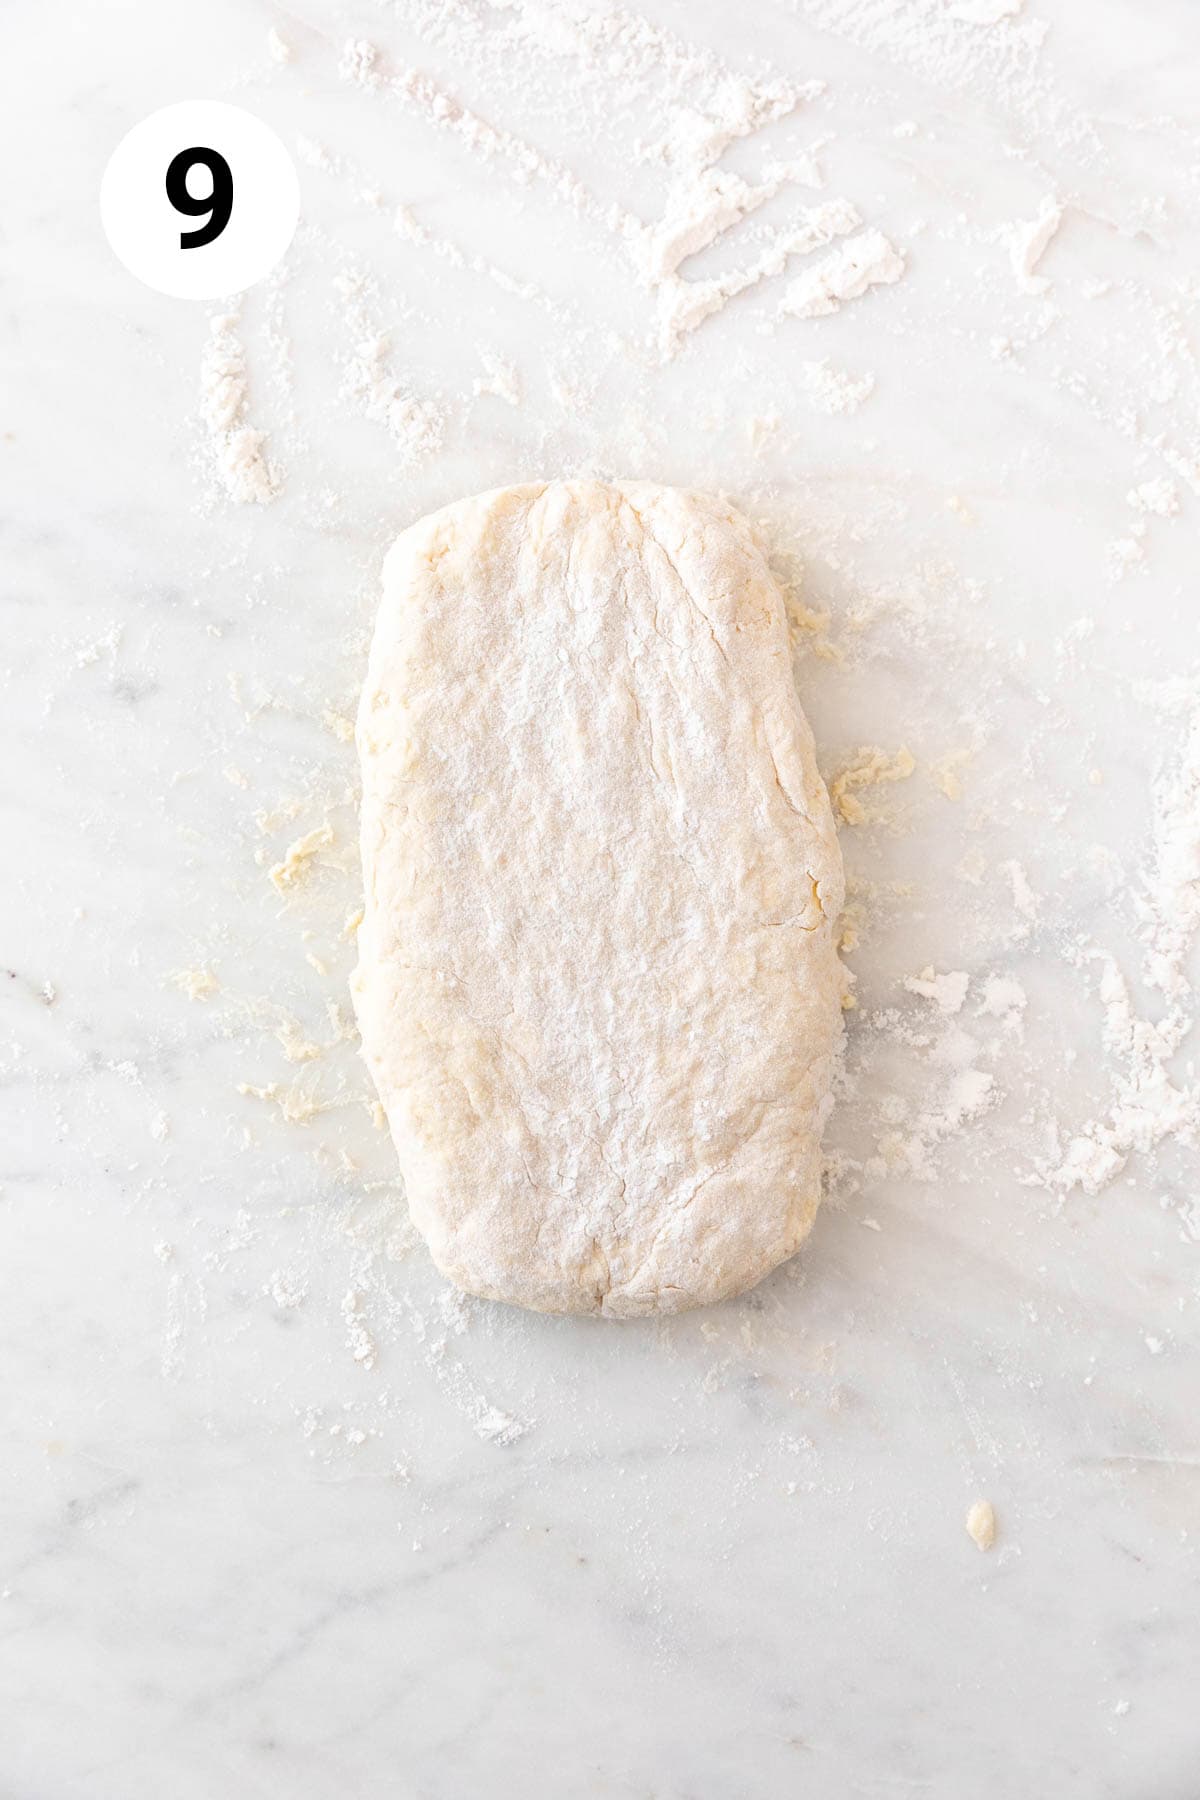
Step 9. Fold one side into the center, then the other side.
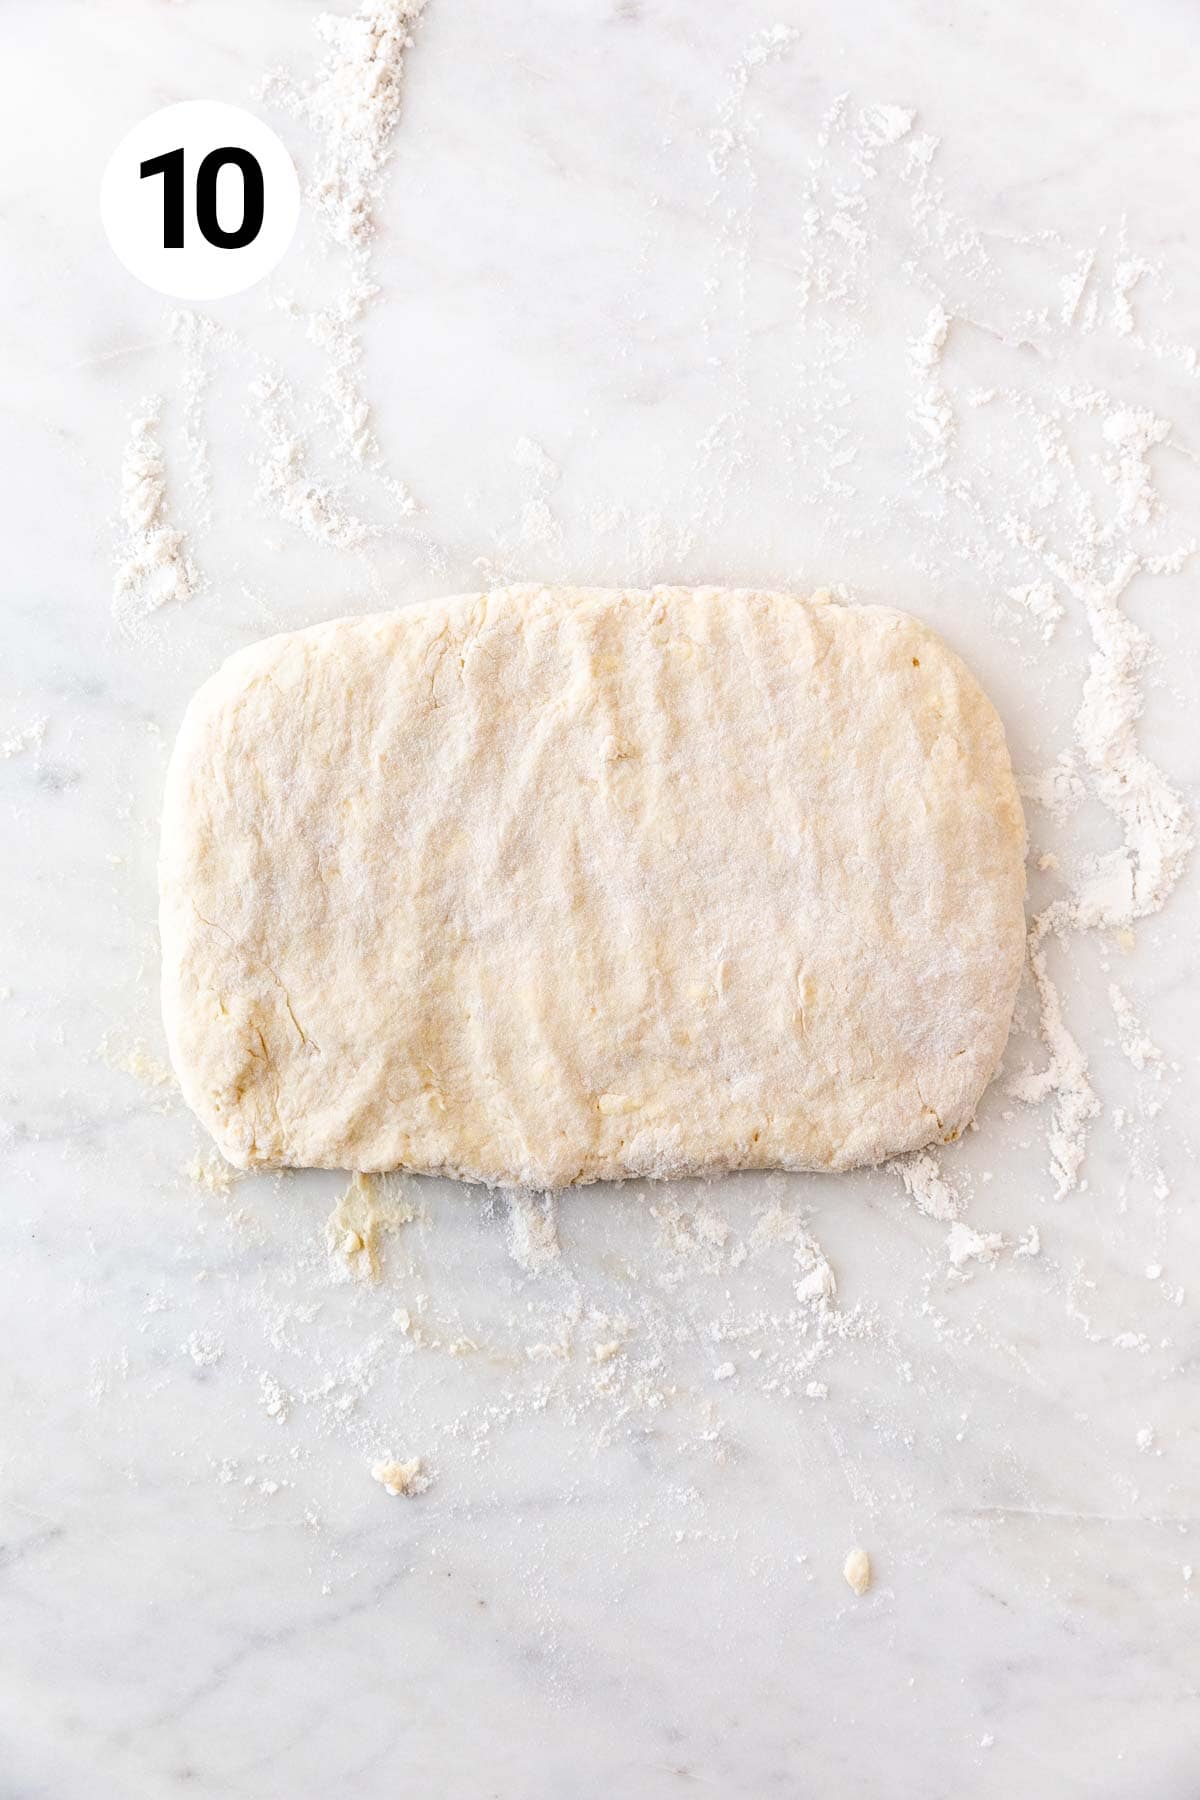
Step 10. Turn the dough horizontally and flatten it into a ¾-inch (about 2 cm) thick rectangle again.
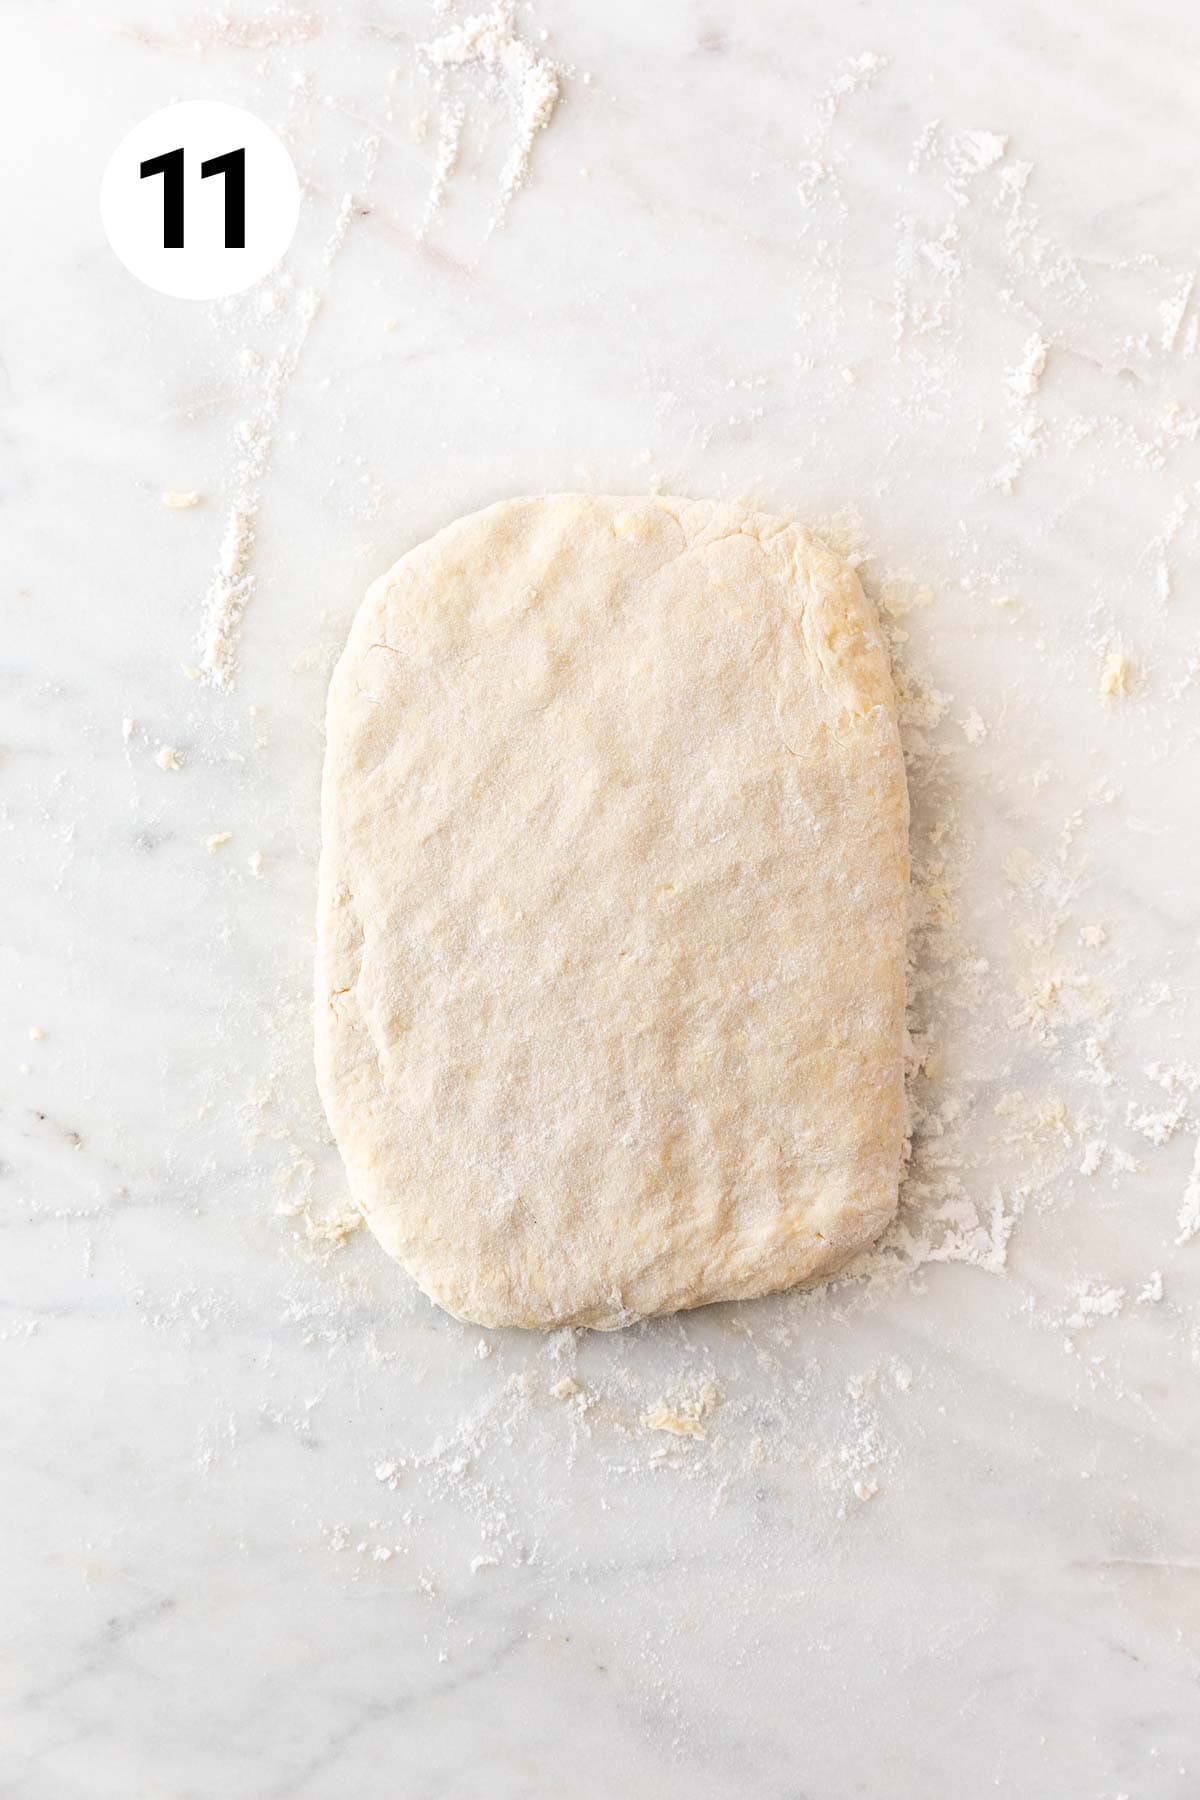
Step 11. Repeat the process two more times.
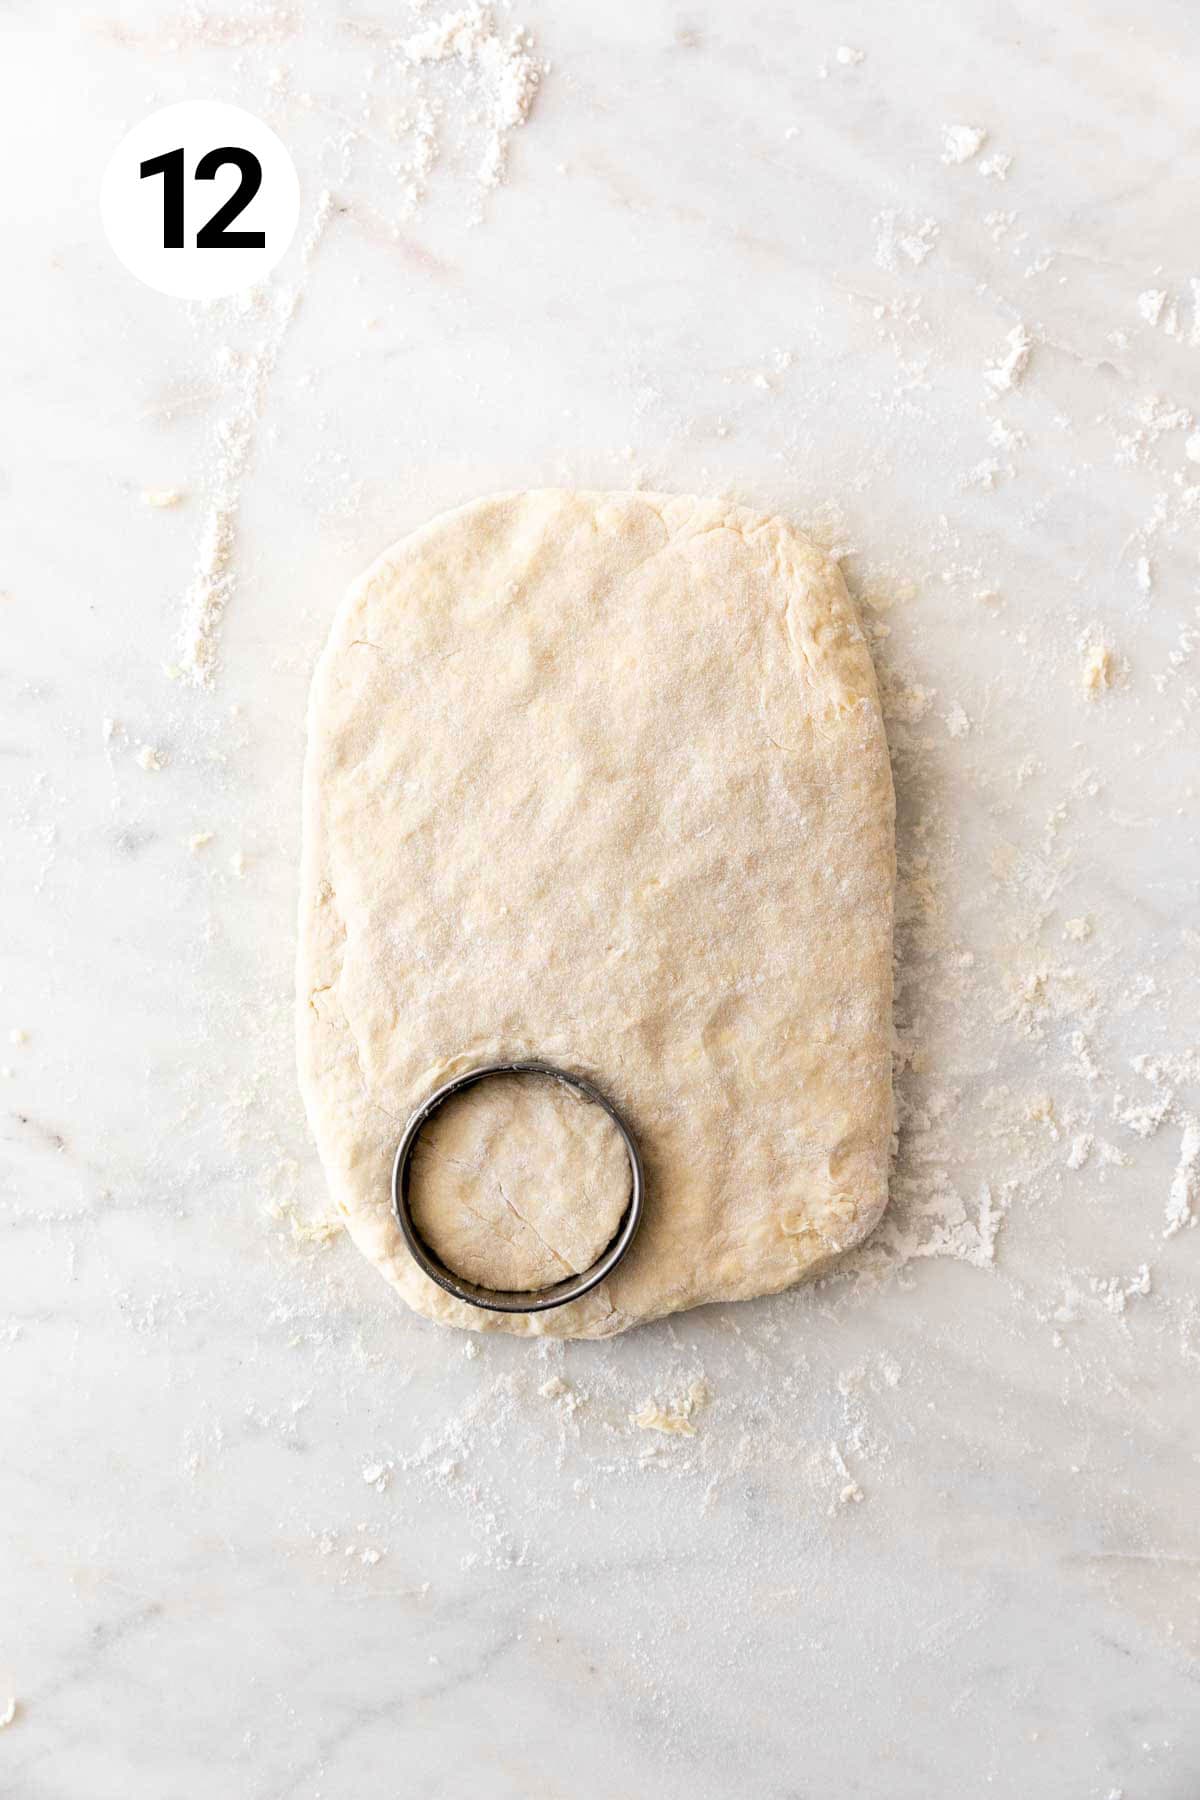
Step 12. Cut into 2.5-inch (6.4 cm) circles using a biscuit cutter, but do not twist the biscuit cutter when pressing down into the dough. Re-roll the scraps until all the dough is used. You should have about 8-10 biscuits.
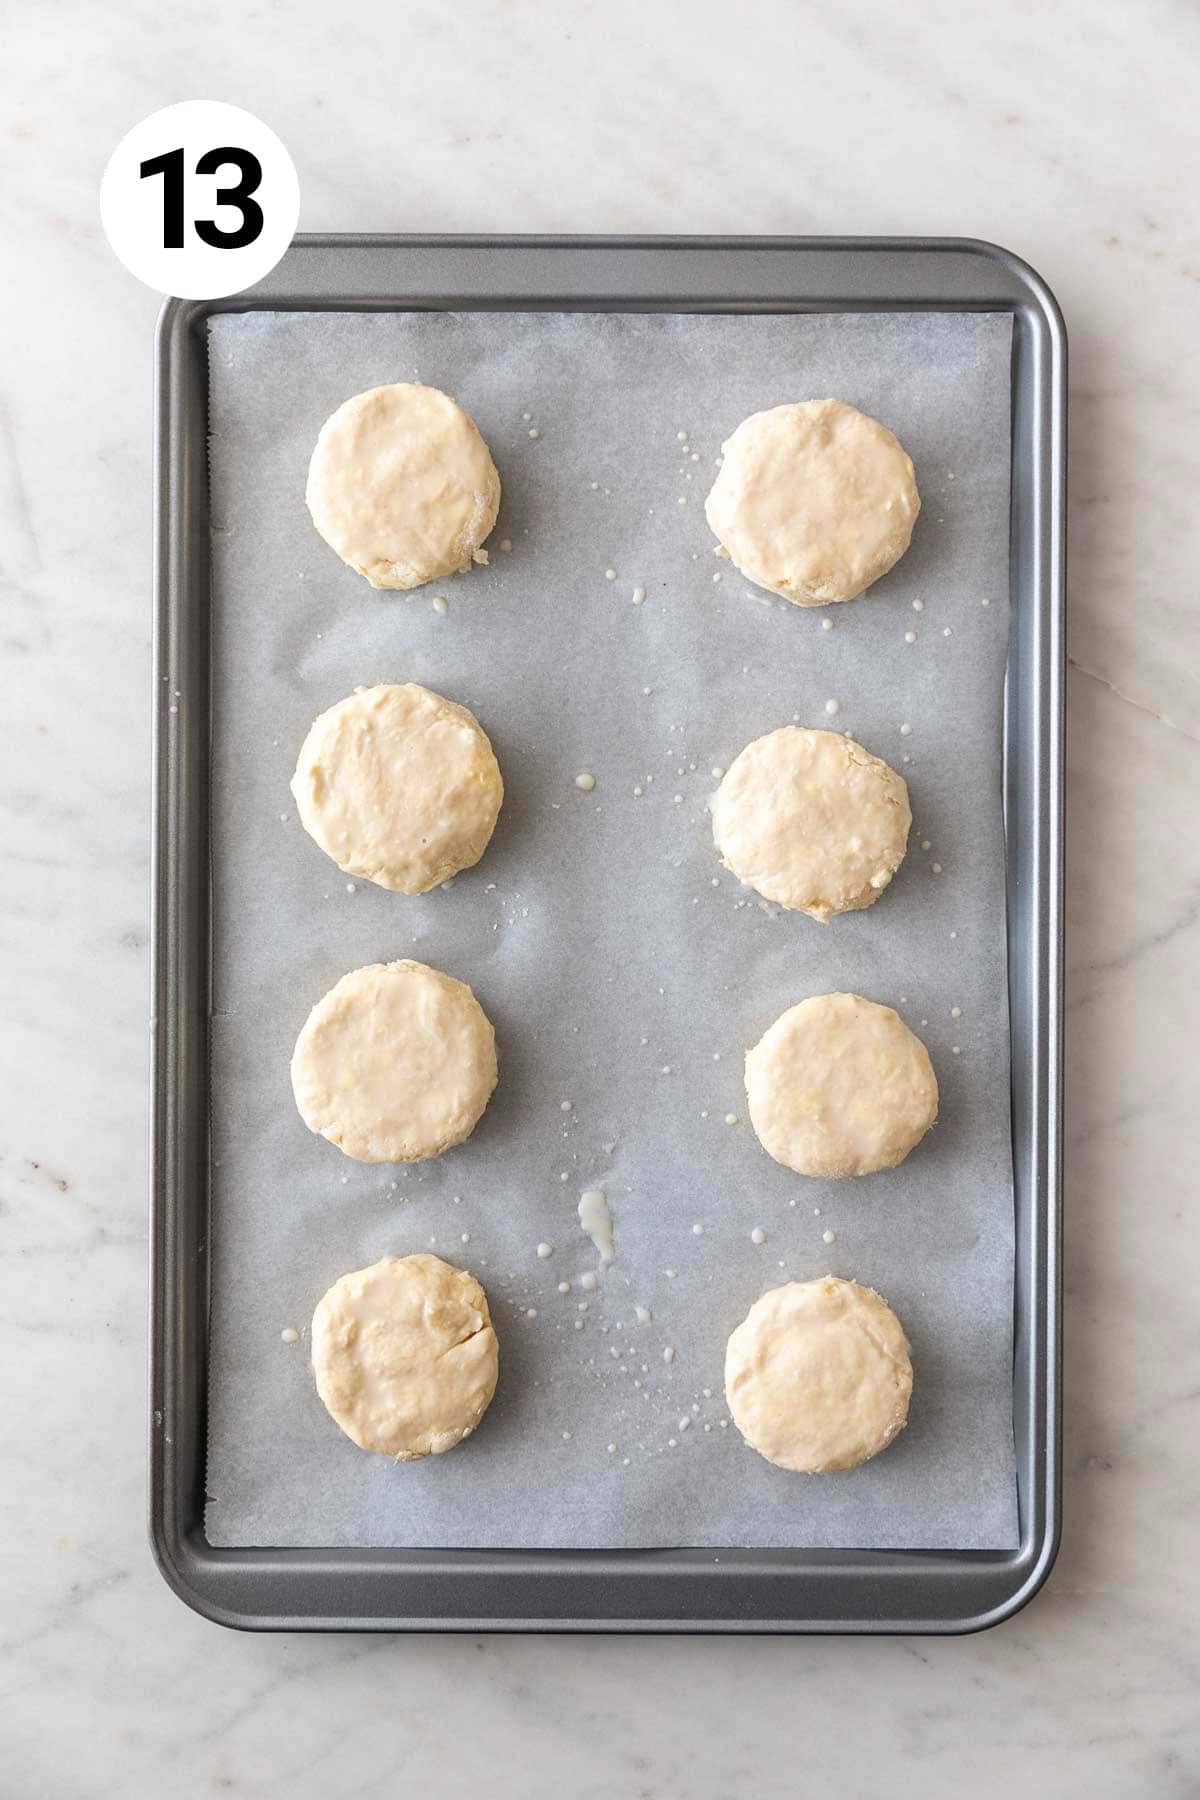
Step 13. Place the vegan biscuits onto the prepared baking sheet at least an inch (2.5 cm) apart. You have the option to gently brush the tops with milk, but it's not necessary.

Step 14. Bake for 12-15 minutes or until the tops turn a beautiful golden brown. Be careful not to burn them! Remove from the oven and serve warm.
💭 Expert tips
- Cold Ingredients Are Key: Ensure your vegan butter and non-dairy milk are very cold. Cold ingredients create flakier biscuits by creating steam pockets as they melt in the oven.
- Handle the Dough Lightly: Overworking the dough can lead to tough biscuits. Mix and handle the dough gently to keep them light and fluffy.
- Use a Sharp Cutter: When cutting out the biscuits, use a sharp biscuit cutter and press straight down without twisting. Twisting the cutter can seal the edges and inhibit rising.
- High Heat for a Quick Rise: Preheat your oven to a high temperature (around 425°F or 220°C). The initial burst of high heat helps the biscuits rise quickly and develop a nice crust.
- Batch Size Flexibility: This recipe can easily be halved or doubled to suit your needs. Adjust the quantities accordingly to avoid waste or ensure you have enough biscuits for a crowd.
❓Recipe FAQs
They have a shelf life of about 2 to 3 days at room temperature if stored correctly.
To maintain their freshness, it's essential to let them cool completely before storing them in an airtight container or resealable plastic bag.
Store this container in a cool, dry place like a pantry or cupboard.
If you need to keep them for an extended period, you can consider refrigerating the biscuits, although it's not necessary.
Refrigeration can help prolong their freshness by 2-3 more days, but keep in mind that it may cause the biscuits to become slightly drier over time due to the lower humidity in the refrigerator.
You can absolutely them to extend their shelf life. Once they've cooled to room temperature, individually wrap each biscuit in plastic wrap or aluminum foil.
Place them in an airtight container or freezer bag, ensuring you remove excess air to prevent freezer burn.
Label the container or bag with the freezing date, and they can be stored in the freezer for up to 2 to 3 months.
When you're ready to enjoy them, simply thaw them at room temperature or reheat them in the oven at a low temperature for that fresh-from-the-oven taste.
Reheating them is easy, and there are a few methods you can use.
Oven Method: Preheat your oven to a low temperature, around 300°F (150°C).
Place the biscuits on a baking sheet and heat them in the oven for about 5-10 minutes or until they are warmed through.
This method helps maintain the biscuits' texture and freshness.
Microwave Method: For a quick reheating, you can use a microwave. To prevent them from drying out, wrap the biscuits in a damp paper towel.
Microwave them in 15-20-second intervals until they are heated to your liking.
Be cautious not to overheat them, as they can become tough if microwaved for too long.
Toaster Oven Method: If you have a toaster oven, it's a convenient option.
Place the biscuits on the toaster oven rack or a baking sheet, and toast them for a few minutes until they're warm and slightly crispy on the outside.
You have the option to use a food processor to cut the cold butter into the dry ingredients, which streamlines the process.
However, if you don't have a food processor, a pastry cutter is a fantastic alternative tool to use. It's an essential tool in baking that comes in handy for tasks like this!
Certainly! Doubling the recipe is a great idea if you need more vegan biscuits. While it might take a bit longer to cut the butter into the flour by hand, the baking time should remain the same.
If you're using a food processor, you may need to prepare the dough in two separate batches, depending on the size of your food processor bowl. Enjoy your larger batch of delicious vegan biscuits!

🍞 Other delicious vegan quick bread recipes
Did you like this recipe? Please leave a rating and comment below!
📖 Recipe

The Best Vegan Biscuits
Ingredients
For the vegan biscuits:
- ¾ cup cold unsweetened non-dairy milk, I used soy milk
- 1 tablespoon apple cider vinegar
- 2 and ¼ cups all-purpose flour, plus extra for hands and work surface
- 1 tablespoon baking powder
- 1 tablespoon granulated sugar
- 1 teaspoon salt
- 6 tablespoons cold vegan butter
For brushing (optional):
- 1-2 tablespoons non-dairy milk, I used soy milk
Instructions
- For better results, cut the butter into small pieces and place it in the freezer for 15 minutes. Using very cold, diced butter will make your biscuits light, flaky, and buttery.
- Preheat the oven to 425ºF (220ºC) and line a baking sheet with some parchment paper. Set aside.
- Mix the non-dairy milk and vinegar in a bowl and let it sit at room temperature for at least 5 minutes. After this time, the milk will thicken and curdle.
- Add the flour, baking powder, sugar, and salt to a large mixing bowl or food processor. Whisk or pulse until combined.
- Add the cubed vegan butter to the dry ingredients and either use a pastry cutter to cut it into the mixture or pulse several times in a food processor until coarse crumbs form. If using a food processor, transfer the mixture to a large bowl.
- Pour the milk and vinegar mixture into the bowl. Gently stir until almost combined, but do not overmix. The dough will be quite moist and sticky, and not form a clean ball at this stage.
- Transfer the dough to a floured work surface and gently bring it together with generously floured hands. The dough will become sticky as you bring it together. Have extra flour nearby and use it often to flour your hands and work surface, but do not add too much or the vegan biscuits will be dry.
- Gently flatten the dough into a ¾-inch (about 2 cm) thick rectangle. Fold one side into the center, then the other side. Turn the dough horizontally and flatten it into a ¾-inch (about 2 cm) thick rectangle again. Repeat the process two more times.
- Cut into 2.5-inch (6.35 cm) circles using a biscuit cutter, but do not twist the biscuit cutter when pressing down into the dough. Re-roll the scraps until all the dough is used. You should have about 8-10 biscuits.
- Place the vegan biscuits onto the prepared baking sheet at least an inch (2.5 cm) apart. You have the option to gently brush the tops with milk, but it's not necessary.
- Bake for 12-15 minutes or until the tops turn a beautiful golden brown. Be careful not to burn them! Remove from the oven and serve warm.
Notes
- Cold Ingredients Are Key: Ensure your vegan butter and non-dairy milk are very cold. Cold ingredients create flakier biscuits by creating steam pockets as they melt in the oven.
- Handle the Dough Lightly: Overworking the dough can lead to tough biscuits. Mix and handle the dough gently to keep them light and fluffy.
- Use a Sharp Cutter: When cutting out the biscuits, use a sharp biscuit cutter and press straight down without twisting. Twisting the cutter can seal the edges and inhibit rising.
- High Heat for a Quick Rise: Preheat your oven to a high temperature (around 425°F or 220°C). The initial burst of high heat helps the biscuits rise quickly and develop a nice crust.
- Batch Size Flexibility: This recipe can easily be halved or doubled to suit your needs. Adjust the quantities accordingly to avoid waste or ensure you have enough biscuits for a crowd.



Leave a Reply