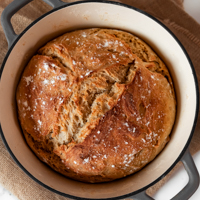
Vegan bread, natural, non-processed, and delicious. It's crunchy on the outside, soft and chewy on the inside, and made with 4 ingredients.
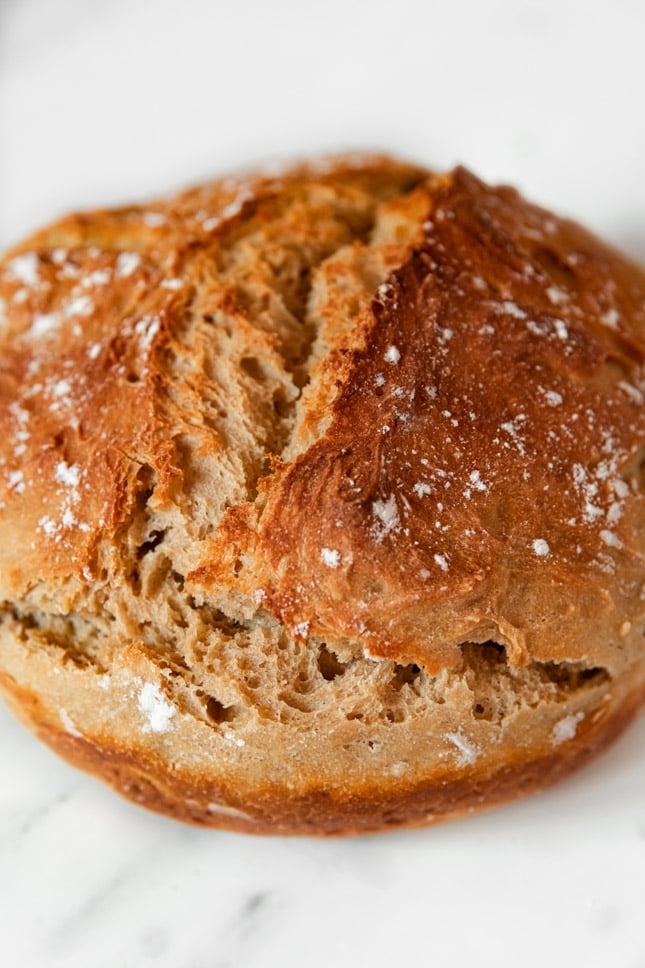
I absolutely love making my own vegan bread at home! It is delicious, flavorful, and satisfying, as well as crunchy and chewy at the same time. It really is super easy to make!
Although nowadays we can get a wide variety of bread at the grocery store, like Ezekiel bread, sourdough bread, naan bread, flax bread, whole grain bread, etc., most of it is usually super processed and contains lots of additives, preservatives, and, sometimes, dairy such as yogurt.
However, this bread is made with only 4 simple ingredients, so it's way healthier than lots of vegan bread brands. And it's also more satiating and satisfying!
Vegan bread, a super easy, tasty, and flavorful recipe. It is delicious, can be used for making sandwiches, and it really is one of the easiest recipes ever. It only requires 4 simple and non-gmo ingredients!
Vegan bread recipe - Short video
How to make vegan bread - Step by step
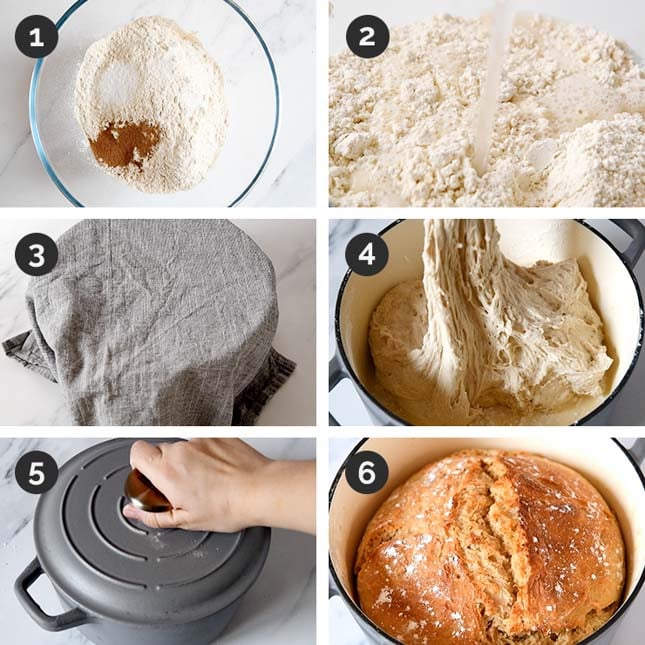
- Combine the flour, salt, and yeast in a large bowl (photo 1).
- Add the water and mix until well combined (photo 2).
- Cover with a dishcloth and let it rise for 2 hours in a warm place (photo 3).
- Grease a Dutch oven with a little bit of oil or line a 9×5-inch (23×13 cm) loaf pan with parchment paper or grease it with some oil.
- Transfer the dough to the Dutch oven or loaf pan (photo 4) and let it rise for 30 more minutes in a warm place (photo 5).
- Preheat the oven to 450ºF or 230ºC for at least 15 minutes.
- Bake for 30 minutes or until golden brown (photo 6). You could also check the bread out by placing a knife into the center of the loaf. If it comes out clean without any batter the bread is done.
- Let it cool for 15 minutes before transferring it to a cooling rack and then let it cool completely. If you don't have a cooling rack, just use a dish or what you have on hand.
- Enjoy you vegan bread warm or at room temperature.
Pro tips
- Keep in mind that you need to make this homemade bread you do need to use active dry yeast, not baking powder, baking soda, or any other similar ingredients.
- You could also add a little bit of oil to the dough if you want to, but that's not necessary.
- Feel free to widen the ingredient list of your own bread with any spices or herbs you like, or even ingredients like olives, dried tomatoes, raisins, nuts, chia seeds, or whatever you want.
- You neither need to use a Dutch oven nor a loaf pan, you could just make a ball with the dough and bake it, but I personally believe the dough is easier to handle if you do.
- I've never made a gluten-free version of this bread myself, but if you do, please leave a comment! If you're gluten-free you may want to try our gluten-free bread.
Is bread vegan?
Although it may seem that bread should always be vegan, the fact is that not all of it is. There are a lot of different types of bread and sometimes it can be hard to know if they are 100% plant-based or not.
Some of them are made with eggs and regular butter, so if you're not sure if a particular type of bread doe, I really suggest you try this recipe.
How long will it keep?
As you'll probably not finish it right away, this vegan bread will keep in good condition if you cover and store it at room temperature for 3-4 days.
Can vegan bread be frozen?
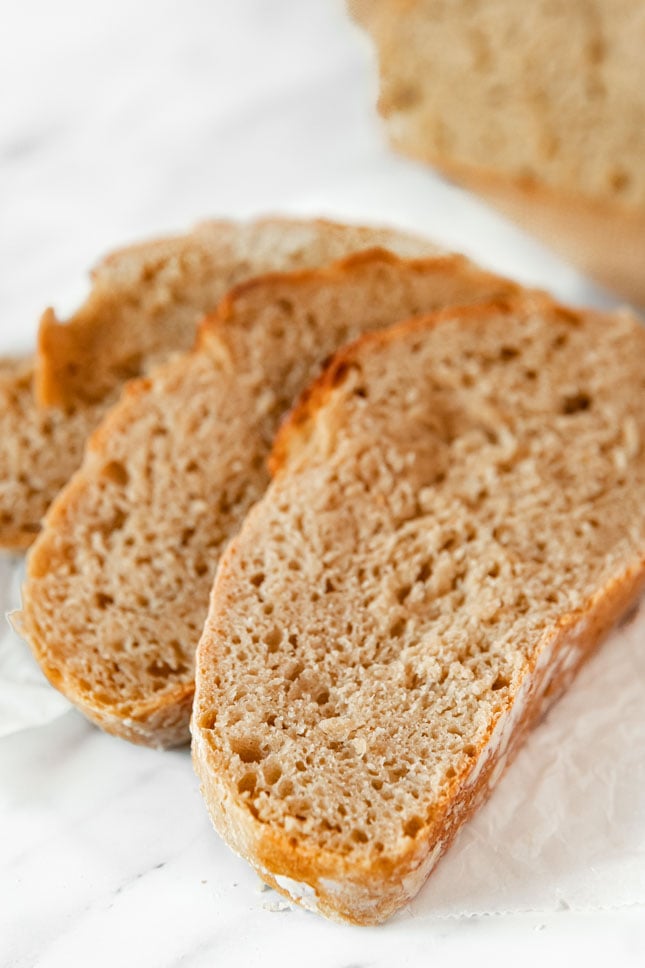
Of course! I always have bread in the freezer in case I need some of it. To freeze it, I suggest you slice it, put it in a freezer-friendly bag, and keep it in the freezer for 3 months. You can defrost it in the toaster.
Serving suggestions
There are plenty of ways of serving this vegan bread. However, one of my favorite ways of eating it is with toppings like vegan butter, coconut butter, or even vegan cream cheese with cinnamon.
You can also pair it with a warm bowl of Vegan Pumpkin Soup or Vegan Butternut Squash Soup, or Vegan Potato and Corn Chowder for a comforting meal.
Looking for more vegan bread recipes?
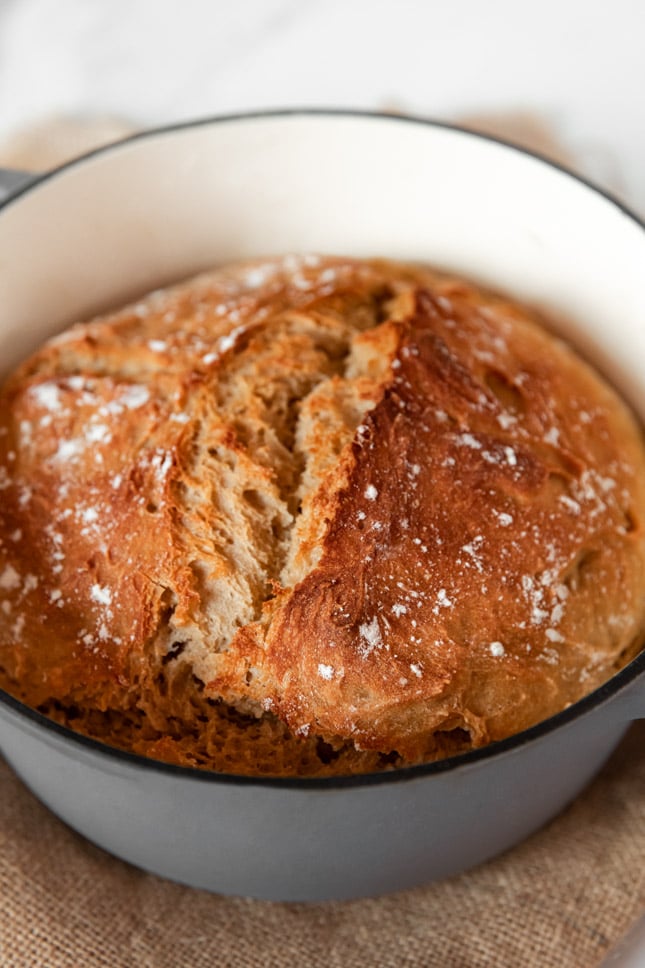
Did you make this vegan bread recipe?
Please leave a comment below, share it, or rate it. You can also FOLLOW ME on FACEBOOK, INSTAGRAM, and PINTEREST. I'd love to see what you cook!
Love it? Rate it!
Vegan Bread
Ingredients
- 4 cups all-purpose flour
- 2 teaspoon salt
- 2 and ¼ tsp active dry yeast
- 1 and ¾ cups warm water
Instructions
- Combine the flour, salt, and yeast in a large bowl.
- Add the water and mix until well combined. I prefer to use a spoon, but you could also use your hands if you want to. It will be a wet dough but it will become more manageable after it rises.
- Cover with a dishcloth and let it rise for 2 hours in a warm place.
- Grease a Dutch oven with a little bit of oil or line a 9×5-inch (23×13 cm) loaf pan with parchment paper. Both work really well.
- Transfer the dough to the Dutch oven or loaf pan and let it rise for 30 more minutes in a warm place.
- Preheat the oven to 450ºF or 230ºC for at least 15 minutes.
- Bake for 30 minutes or until golden brown. You could also check the bread out by placing a knife into the center of the loaf. If it comes out clean without any batter the bread is done.
- Let it cool for 15 minutes before transferring it to a cooling rack and then let it cool completely. If you don’t have a cooling rack, just use a dish or what you have on hand.
- Enjoy it warm or at room temperature and serve with toppings like vegan butter, coconut butter, or even vegan cream cheese.
- Cover and store the vegan bread at room temperature for 3-4 days or in the freezer for 3 months (I always slice my loaf of bread before freezing it).
Notes
- Keep in mind that you need to use active dry yeast, not baking powder, baking soda, or any other similar ingredients.
- You could also add a little bit of oil to the dough if you want to, but that's not necessary.
- Feel free to add any spices or herbs you like, or even other ingredients like olives, dried tomatoes, raisins, or whatever you want.
- You neither need to use a Dutch oven nor a loaf pan, you could just make a ball with the dough and bake it, but I personally believe the dough is easier to handle if you do.
- I’ve never made a gluten-free version of this bread myself, but if you do, please leave a comment! If you’re gluten-free you may want to try our gluten-free bread.
- Prep time includes rising time, which is 2 and a half hours.
Nutrition
Update Notes: This post was originally published in February of 2021, but was republished with new photos, step-by-step instructions, and tips in February of 2022.



Chrissie Wilding says
This bread is delicious! I topped mine with mixed seeds, my husband says it’s the best bread I’ve ever made!! I sliced it and put it in the freezer. It’s fantastic toasted too.
Iosune says
Hi Chrissie! Thanks a lot 🙂 Sound amazing!
Kate says
OK, well that's the most delicious bread I've ever made! I'm totally getting rid of my bread maker! Thank you!!!
Iosune says
Hi Kate! So glad you liked it so much 🙂
Angela Ray says
Amazing! It turned out perfect the first time. I'll use this recipe again and again! Thanks so much❣
Iosune says
Hi Angela! So glad you enjoyed it!